Planning a trip and wondering about the best things to do in Estes Park? Whether you’re visiting for adventure, relaxation, or a little of both, this mountain town offers something unforgettable in every season.
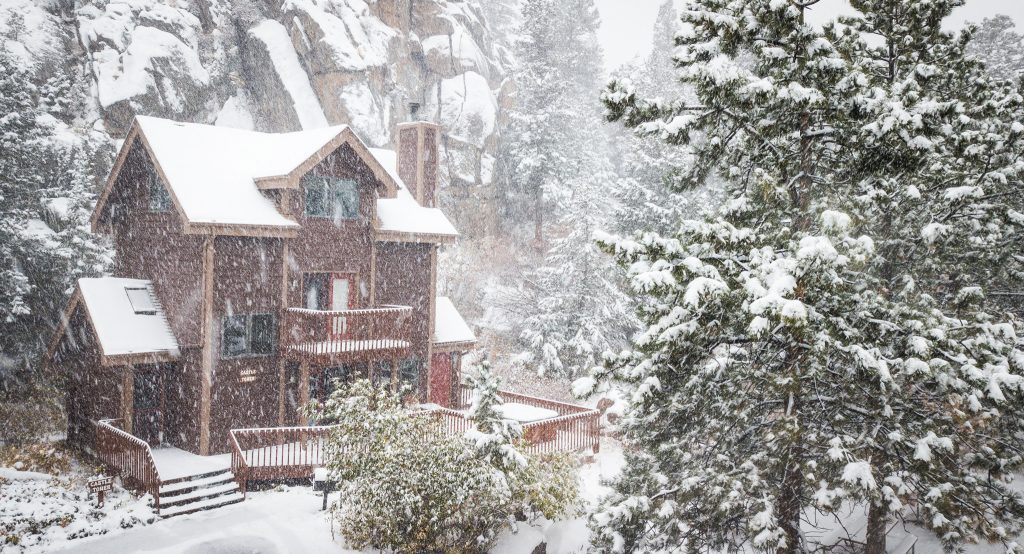
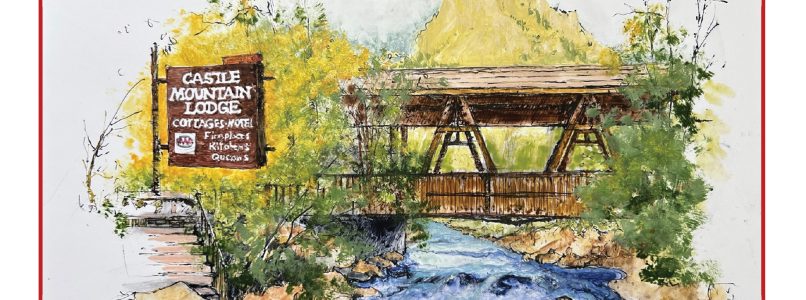
Located at the doorstep of Rocky Mountain National Park, Estes Park is known for its breathtaking scenery, wildlife, and endless outdoor activities. Even better, when you stay at Castle Mountain Lodge, you’re just minutes from it all—making it easy to experience more and stress less.
Here are the top 10 things to do in Estes Park during your stay.
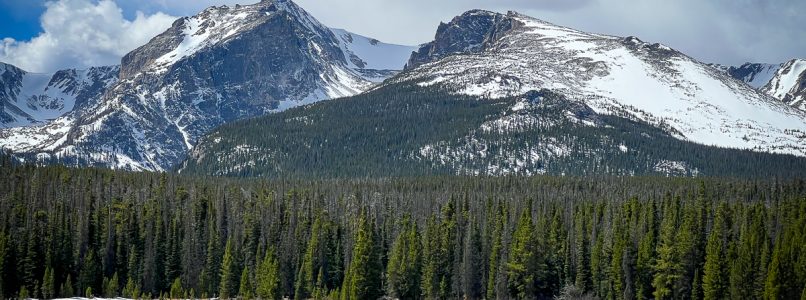
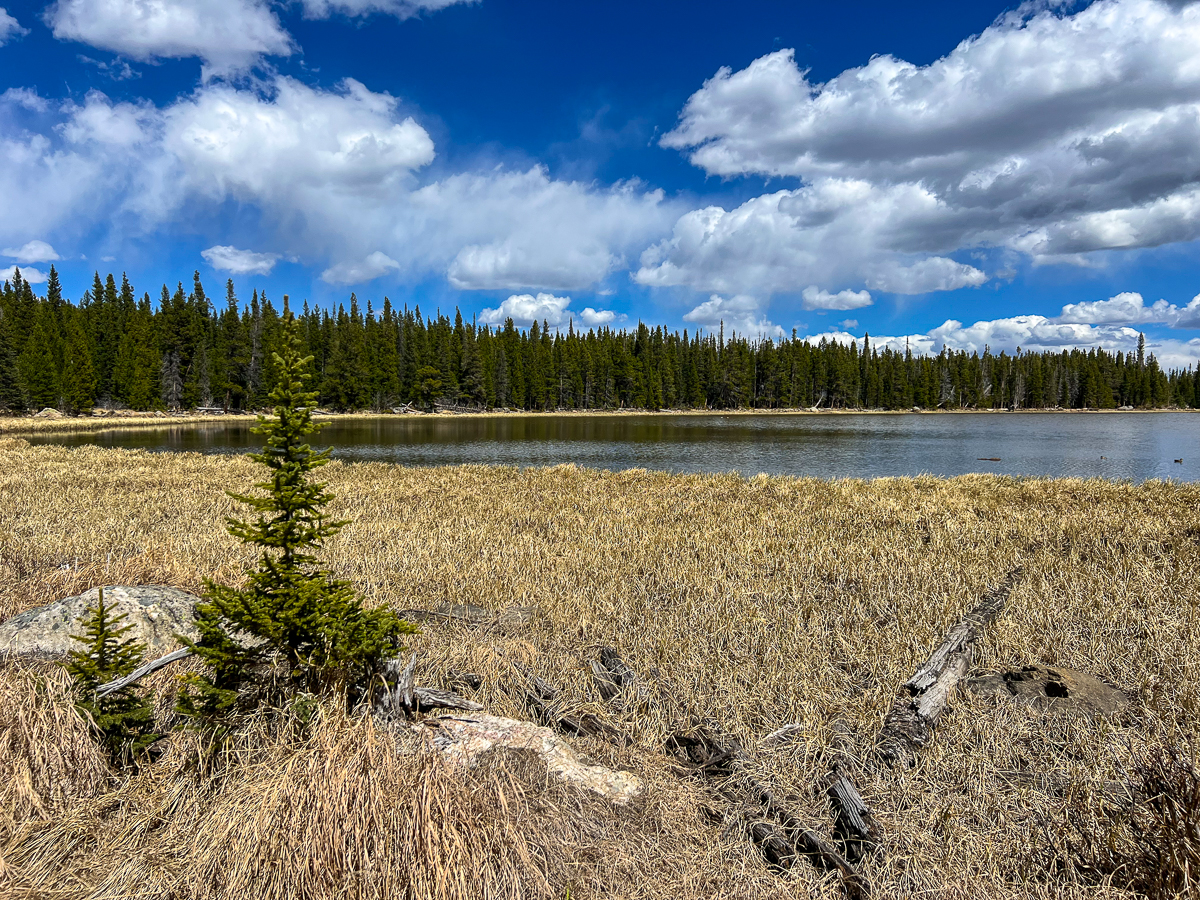
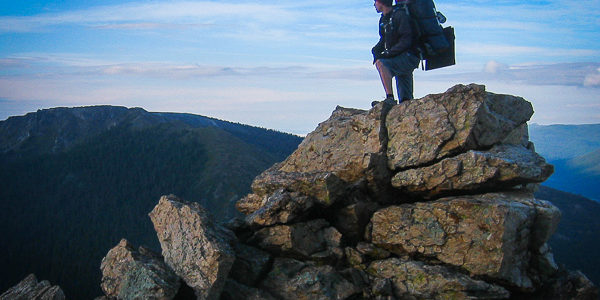
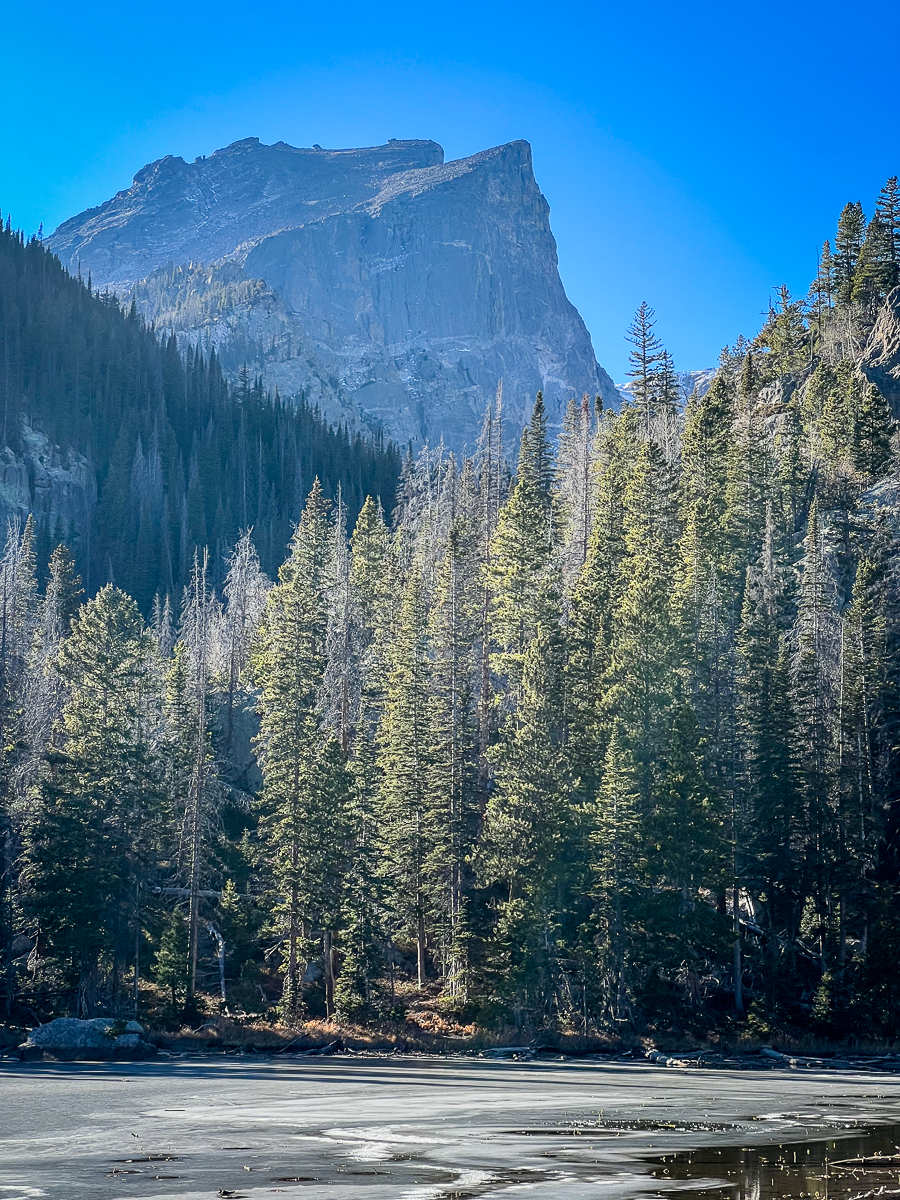
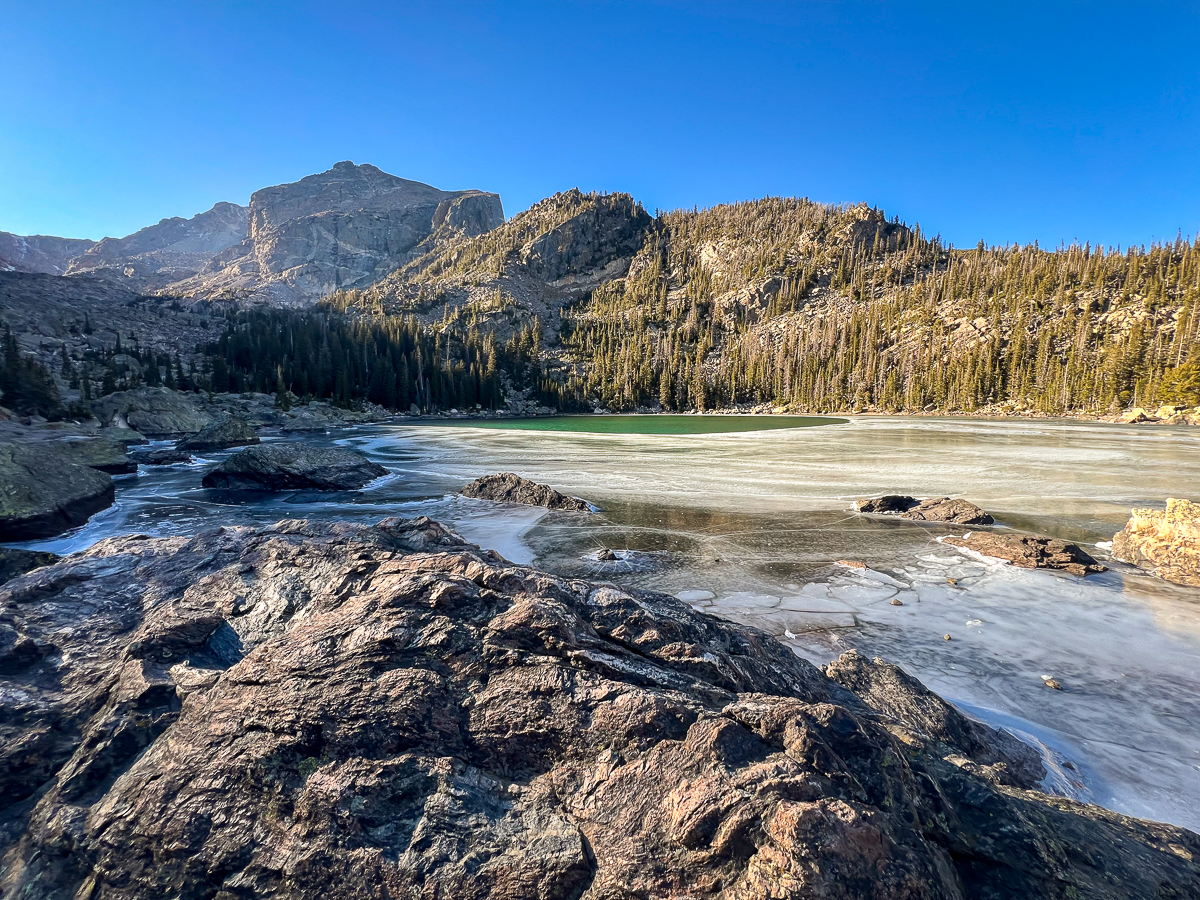
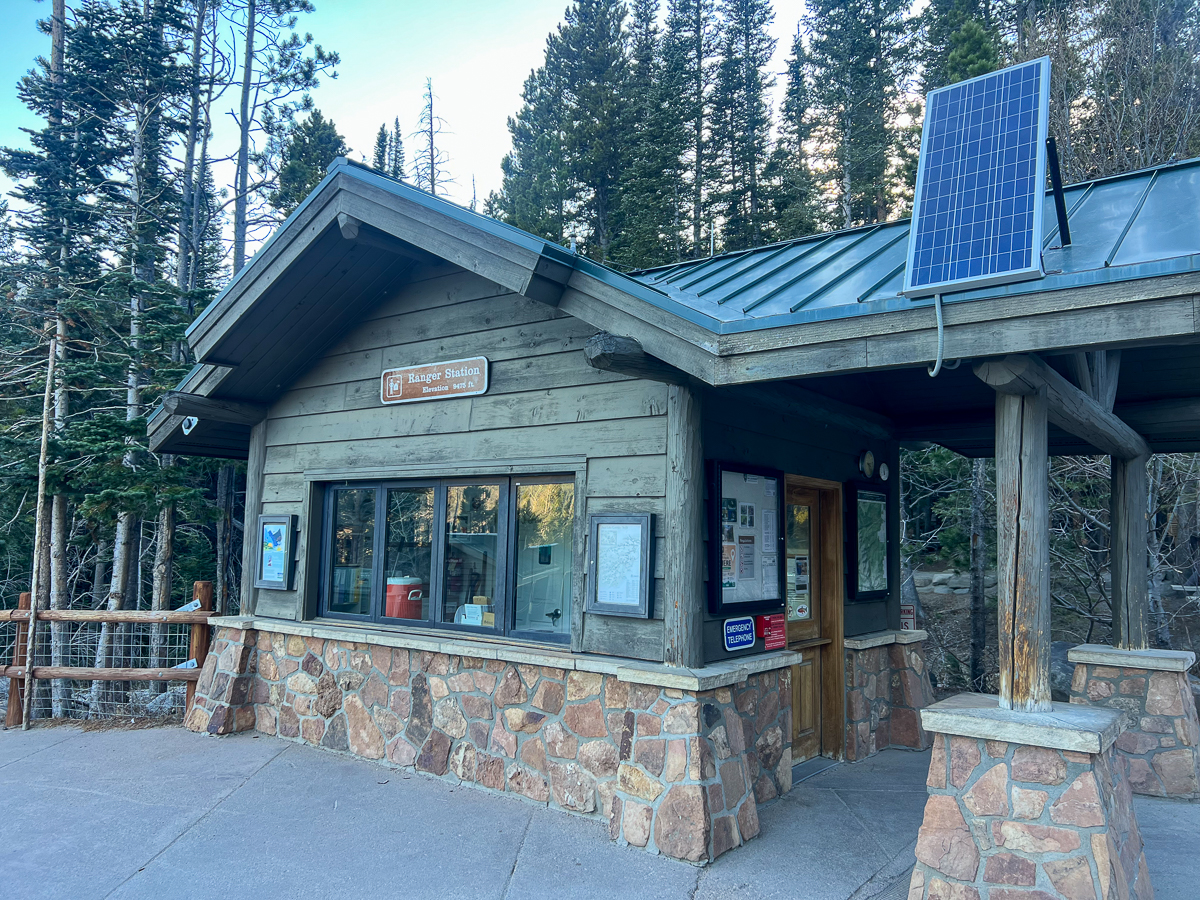
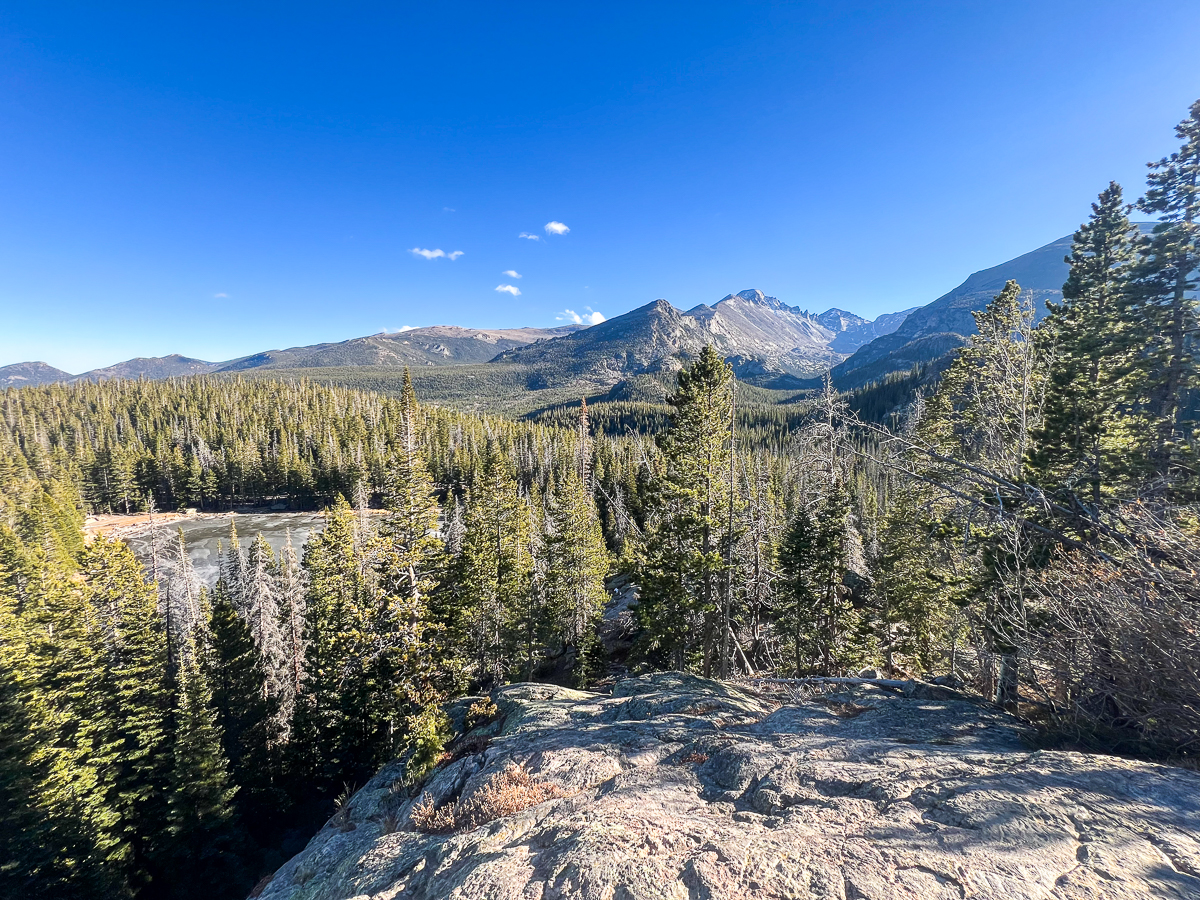
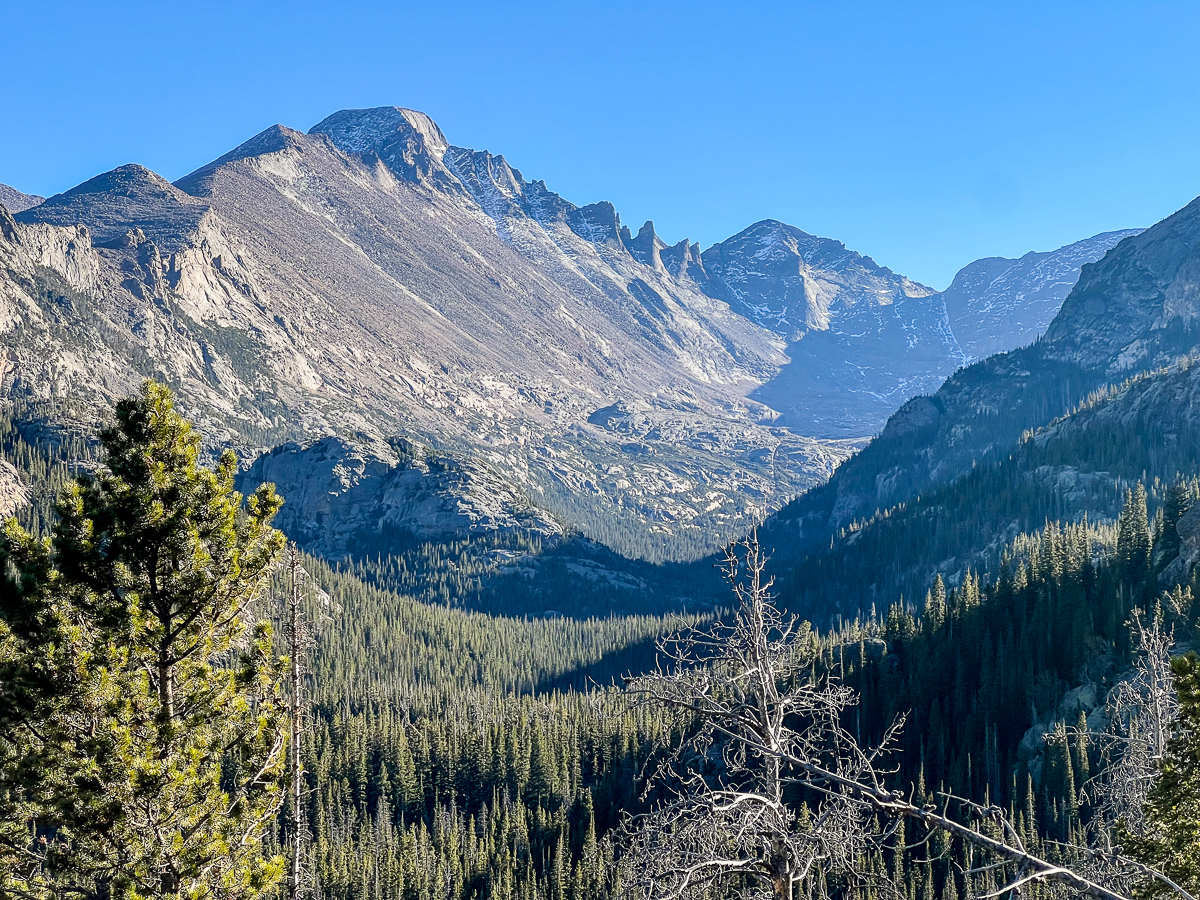
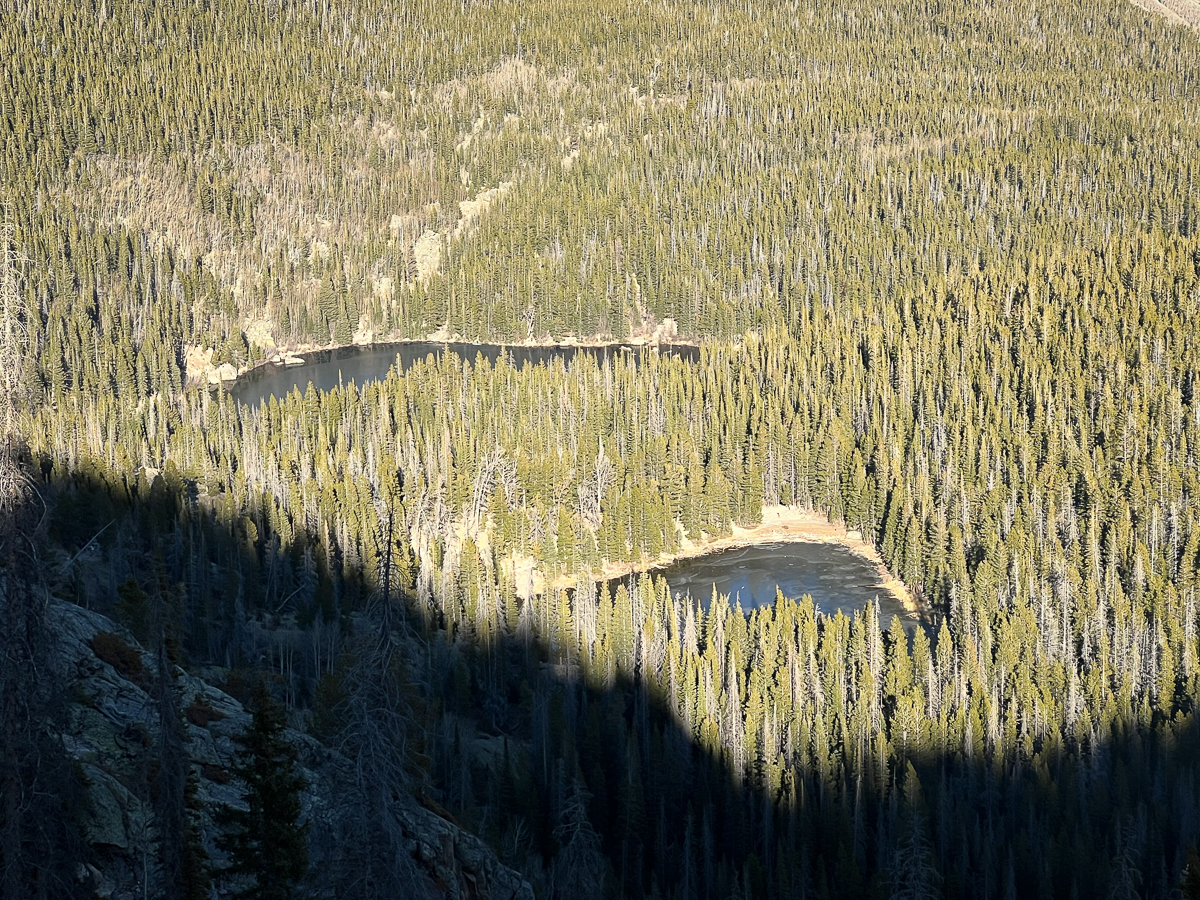
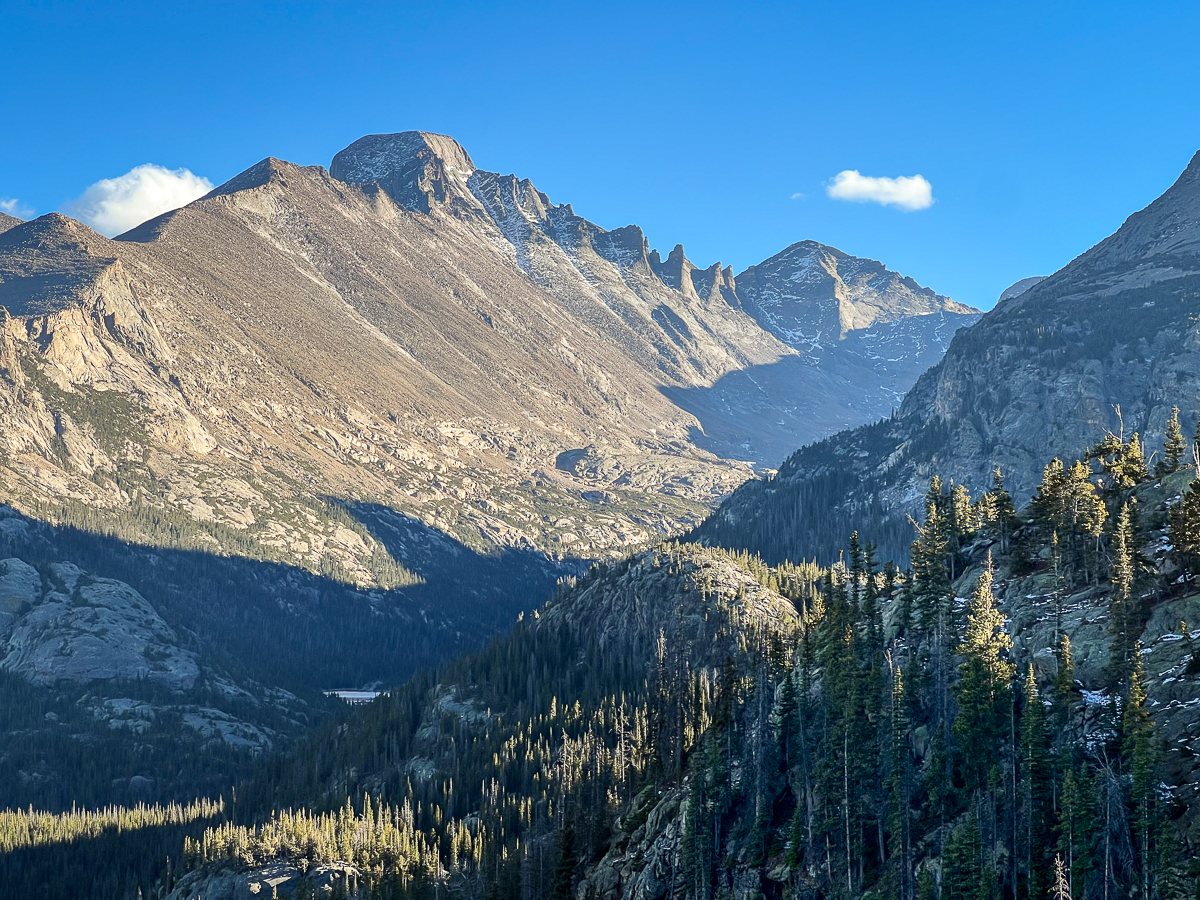
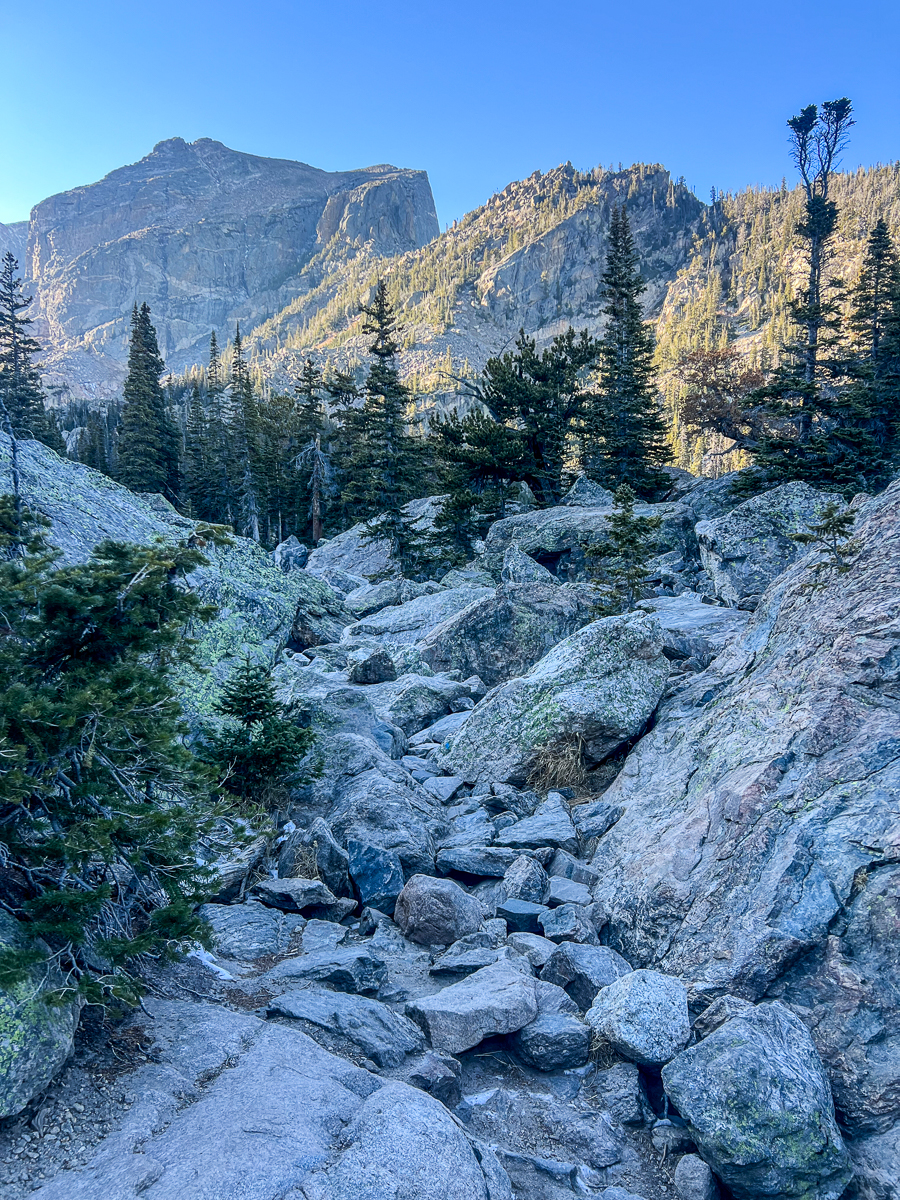
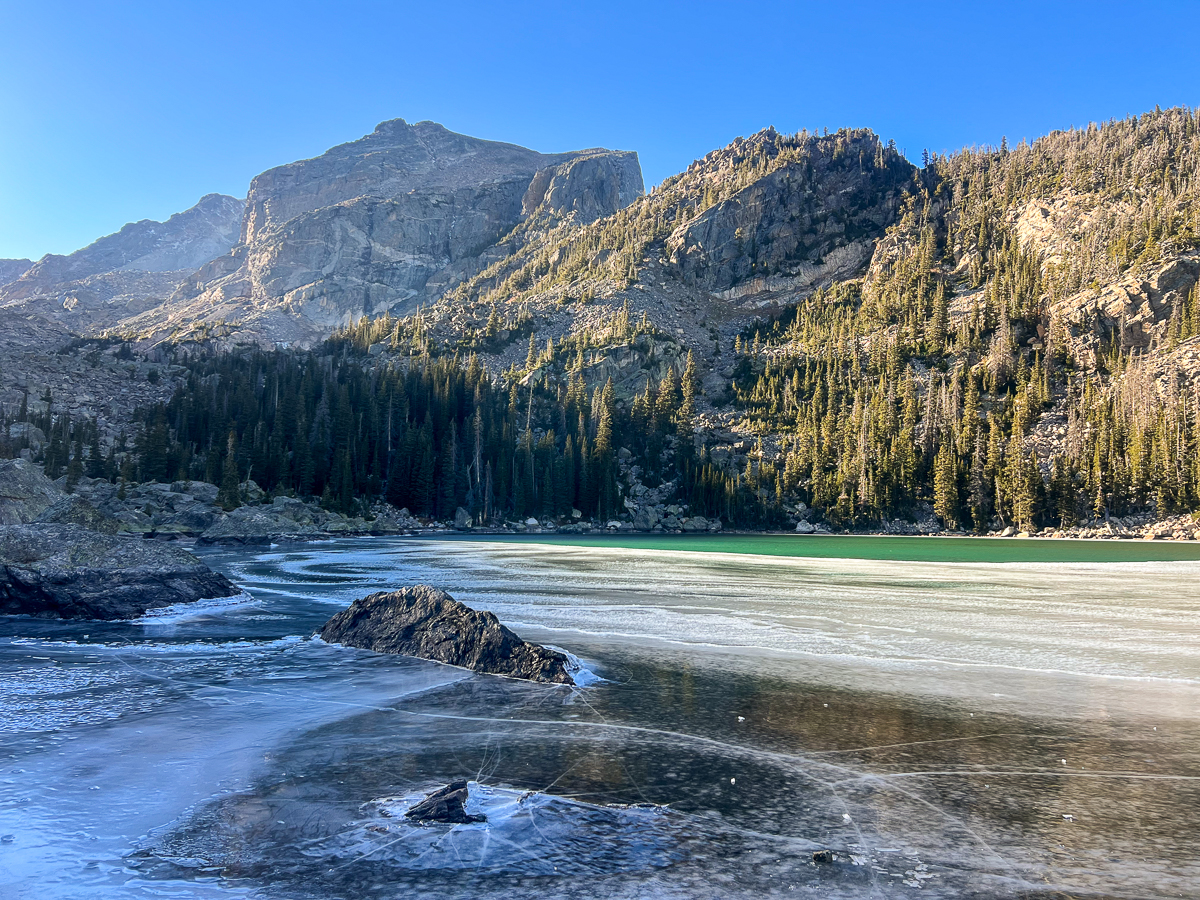
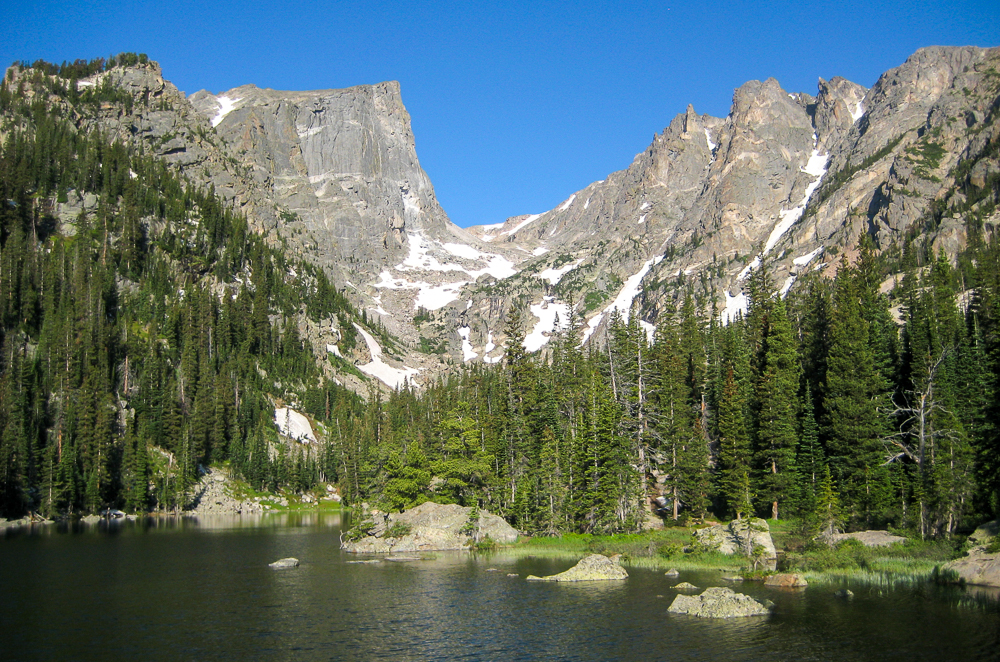
1. Explore Rocky Mountain National Park
No visit is complete without spending time in Rocky Mountain National Park.
Top highlights include:
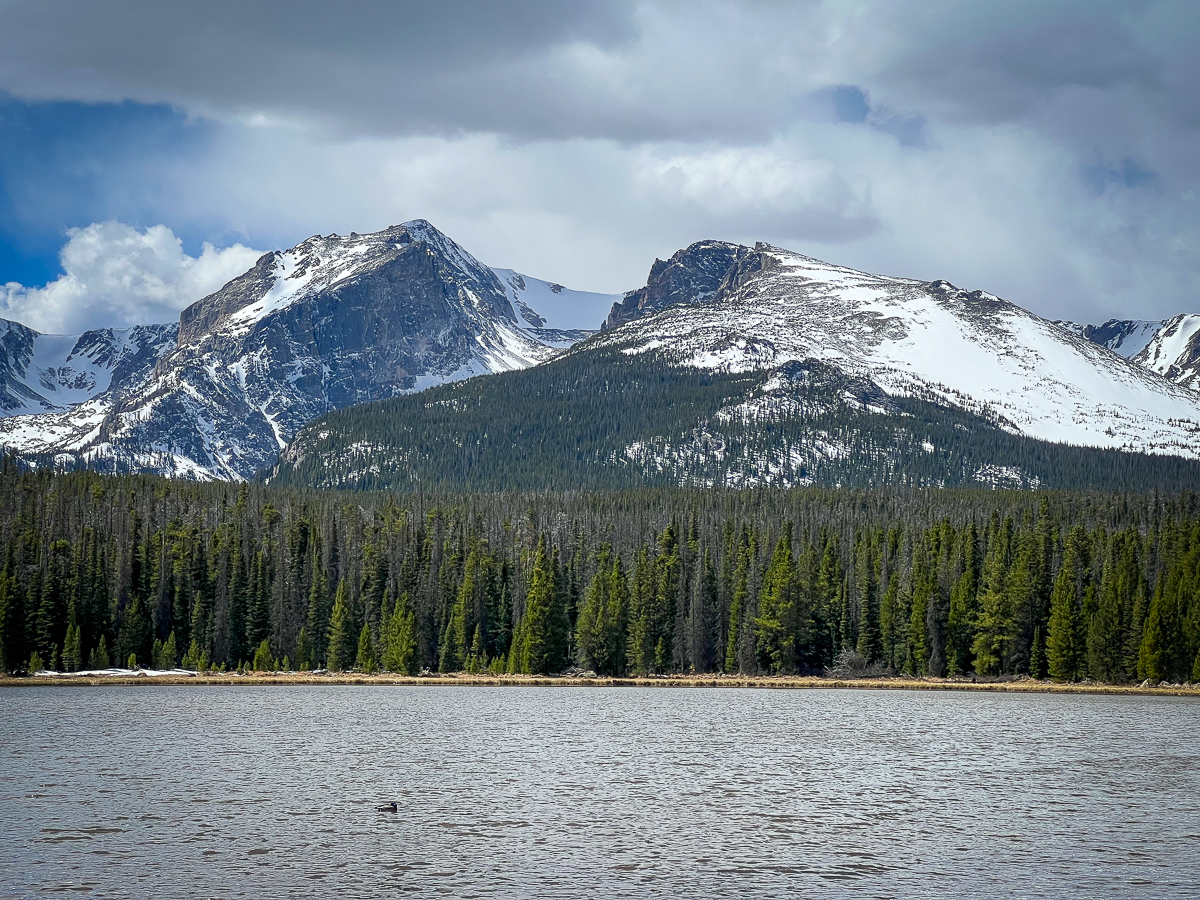
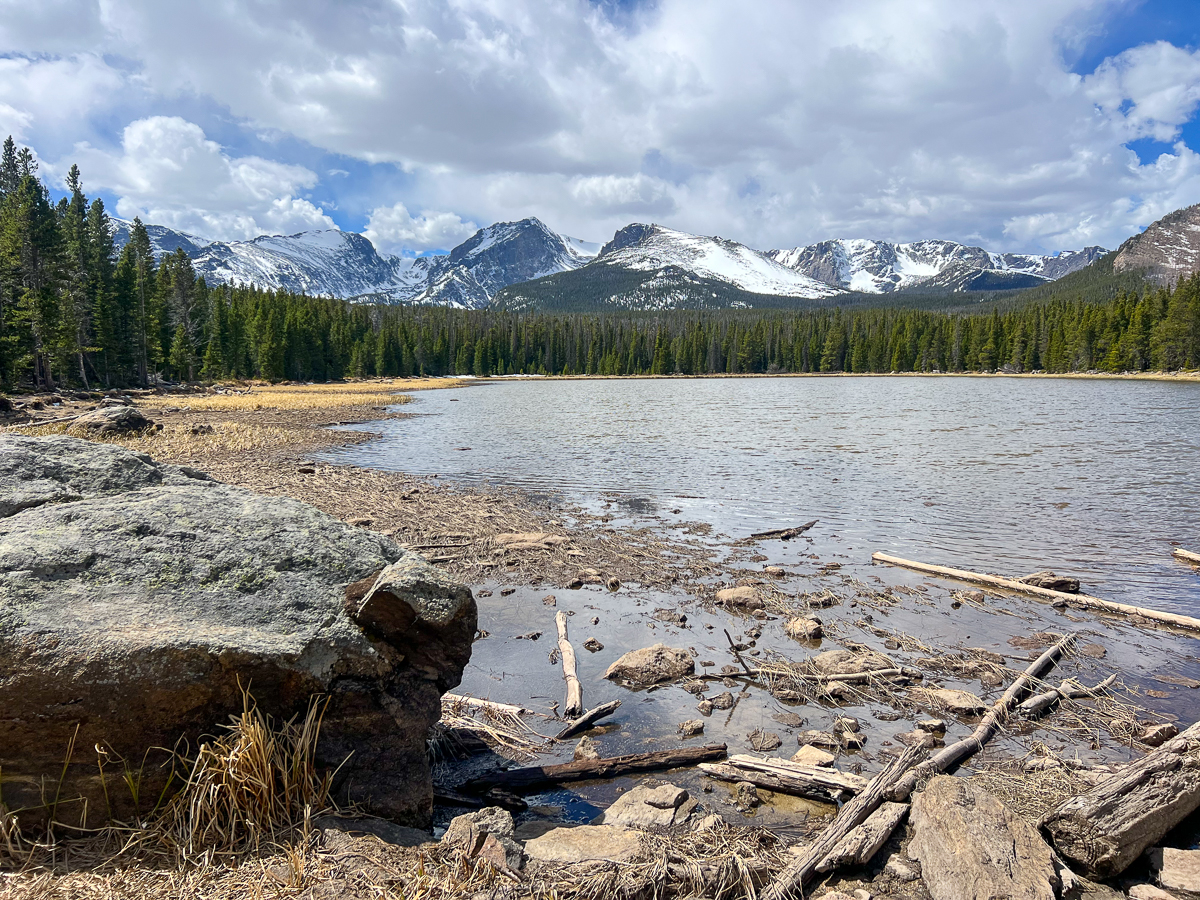
- Bear Lake
- Emerald Lake
- Trail Ridge Road
- Alpine Visitor Center
Arrive early to avoid crowds and secure parking.
Learn how to prepare for your visit:
https://castlemountainlodge.com/prepare-for-rocky-mountain-national-park/
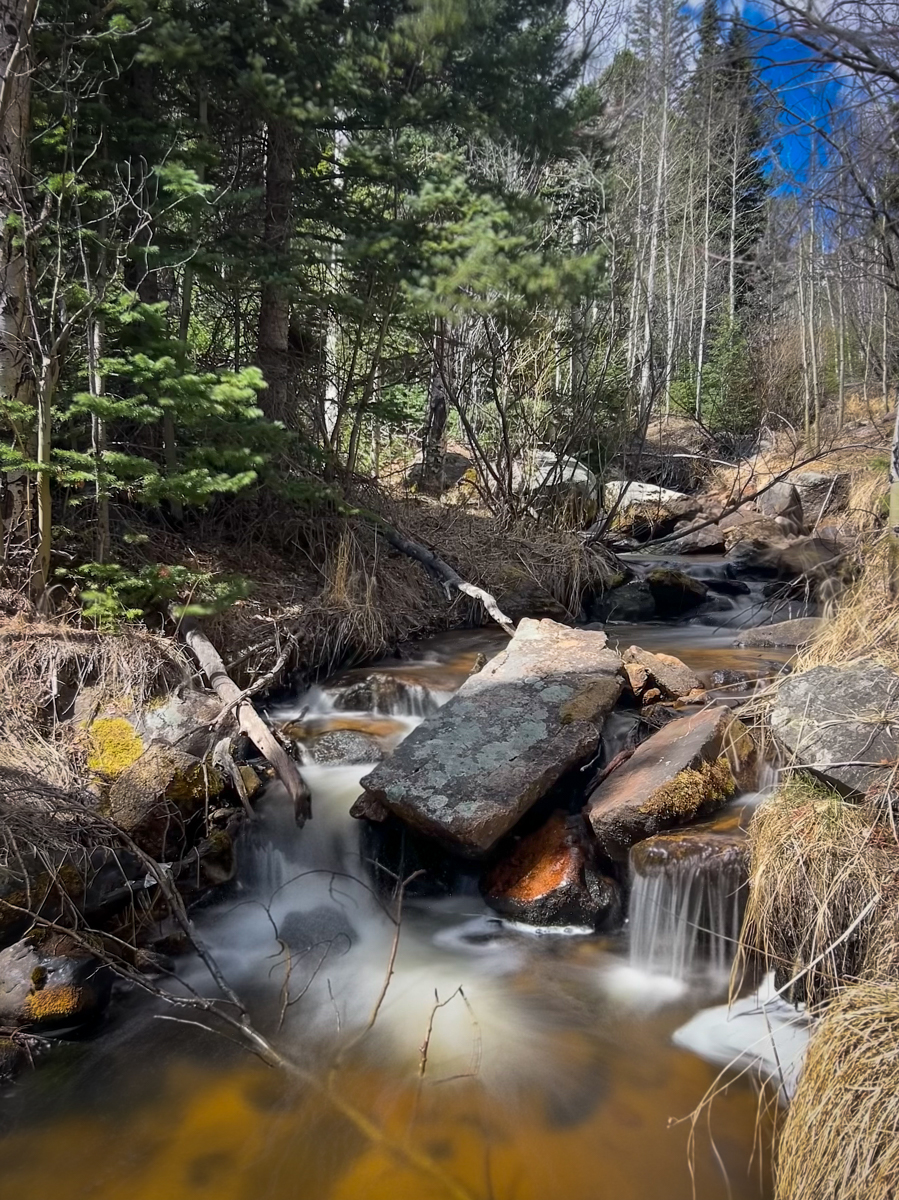
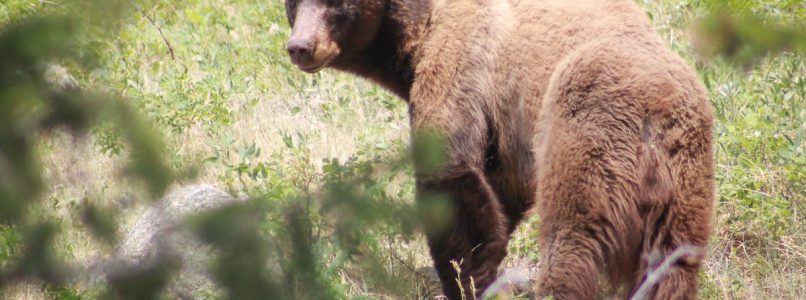
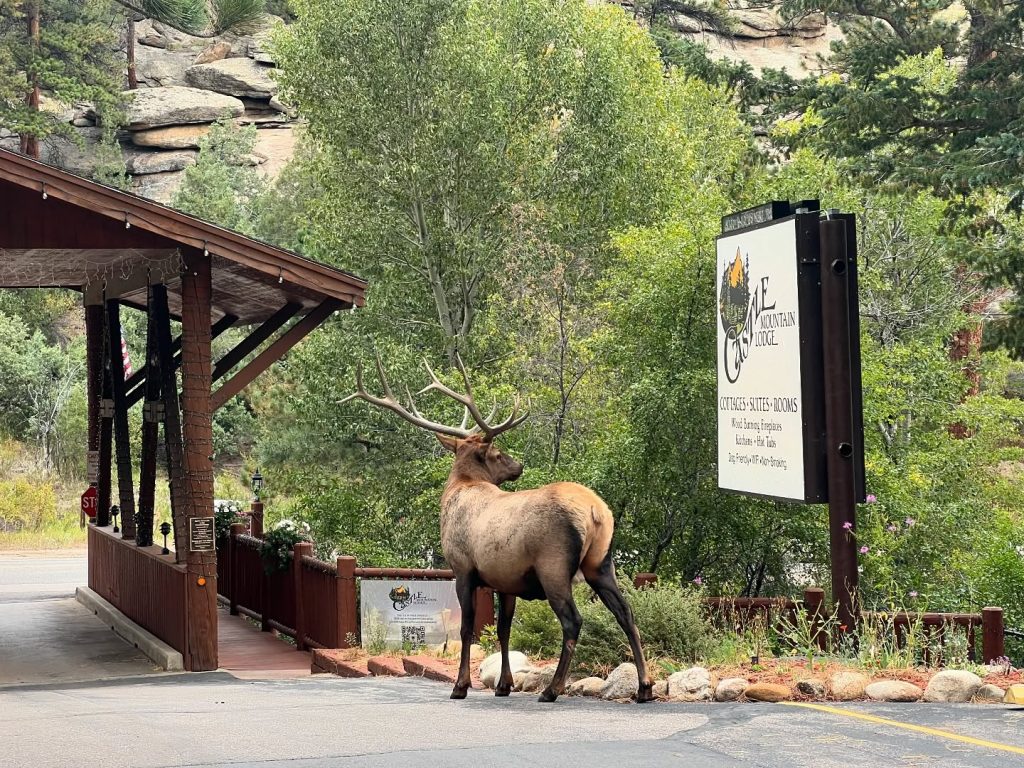
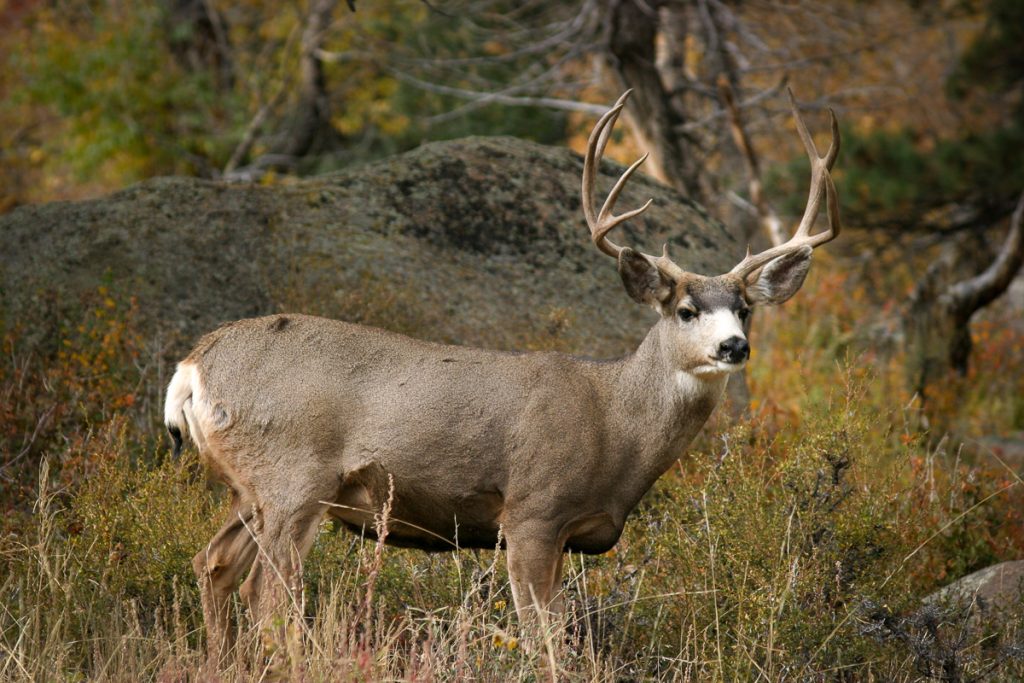
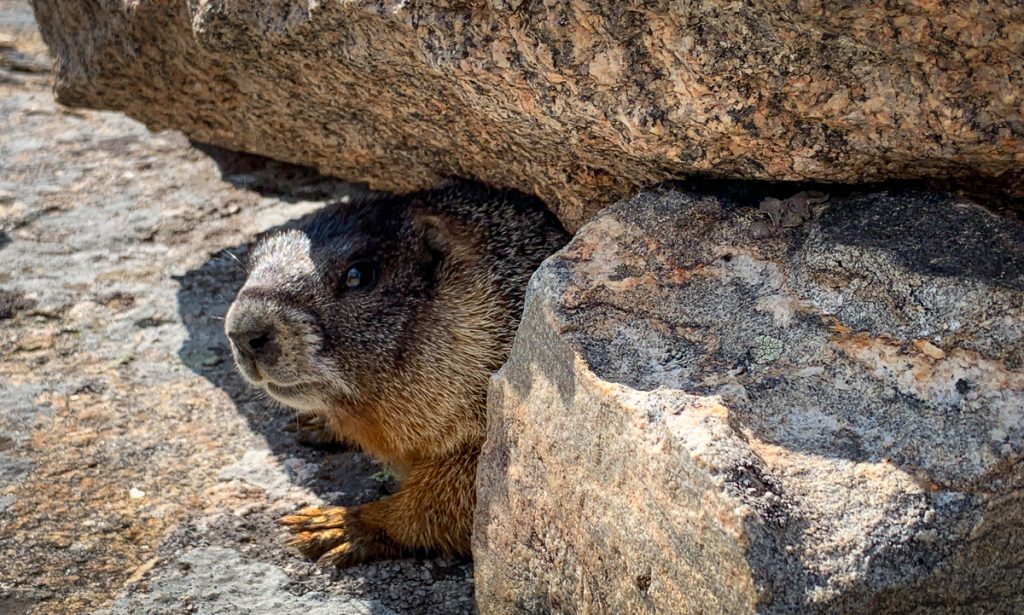
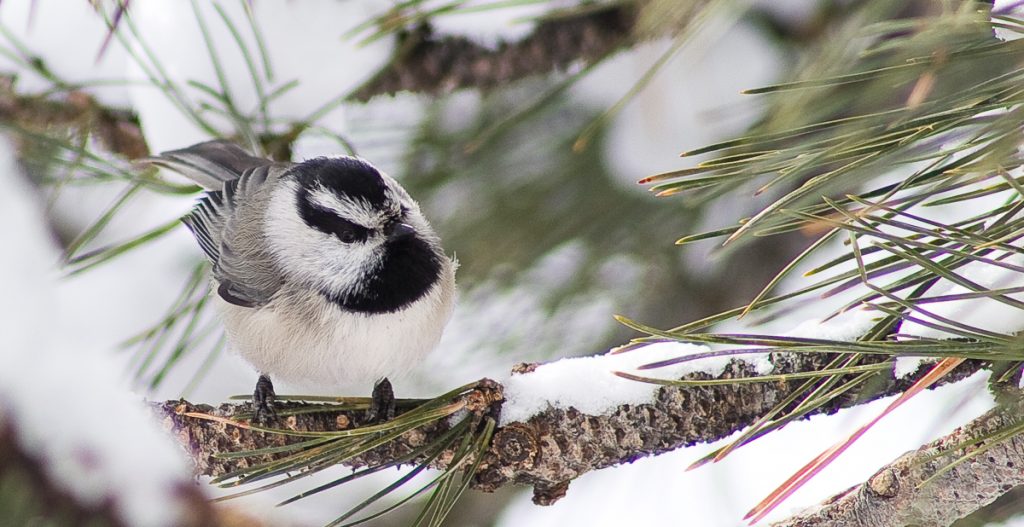
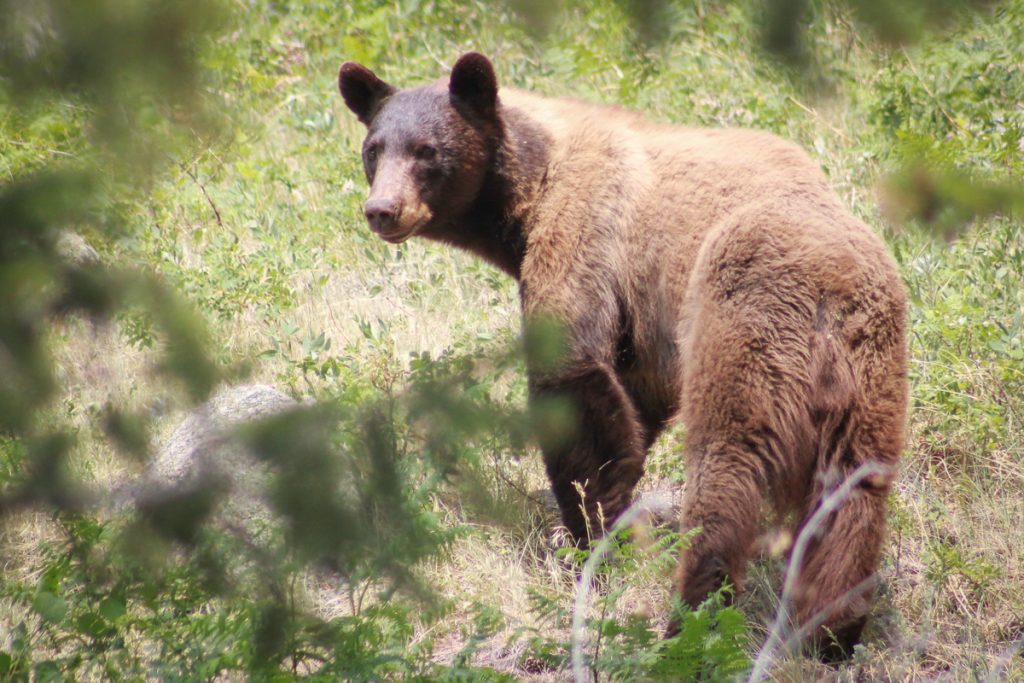
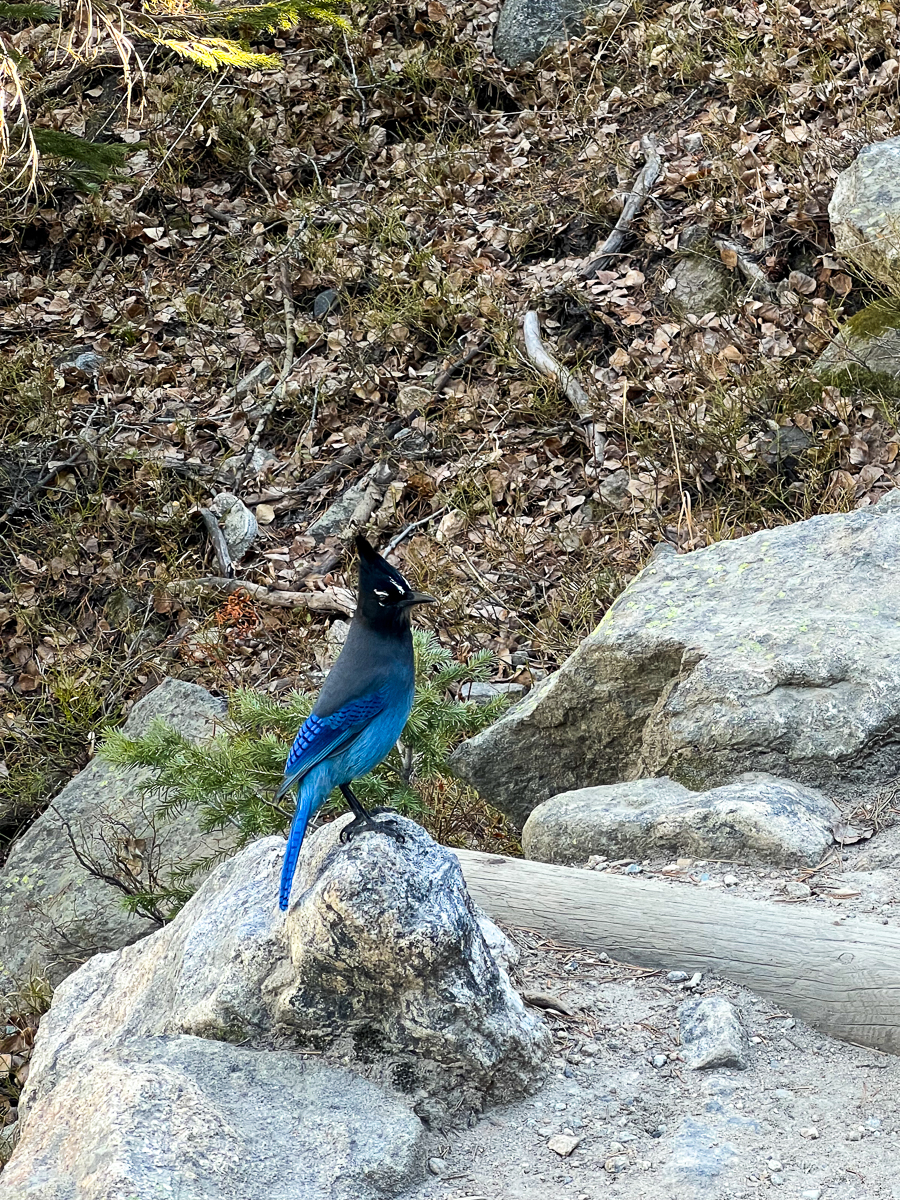
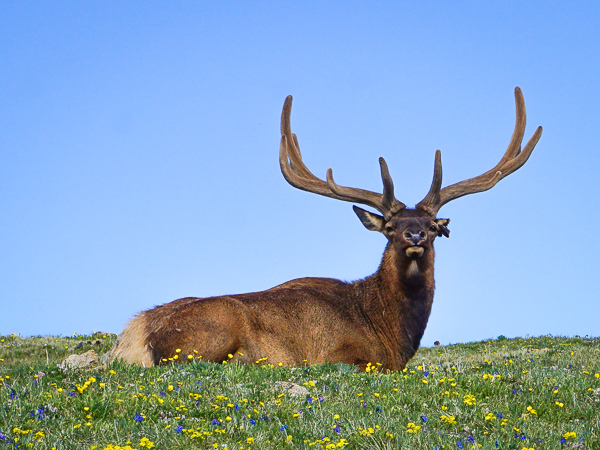
2. Watch Wildlife in Their Natural Habitat
Estes Park is one of the best places in Colorado for wildlife viewing.
You may see:
- Elk
- Mule deer
- Foxes
- Birds of all kinds
Early mornings and evenings are the best times to spot animals.
Read our full wildlife guide:
https://castlemountainlodge.com/estes-park-wildlife-castle-mountain-lodge/
3. Take a Scenic Drive
If you prefer to explore from your car, Estes Park has some of the most beautiful drives in the country.
Must-see routes include:
- Trail Ridge Road (seasonal)
- Old Fall River Road
- Peak to Peak Scenic Byway
These drives offer incredible views with minimal effort.
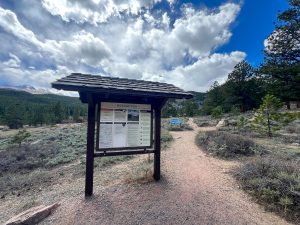
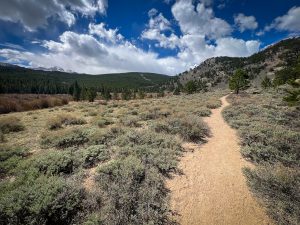
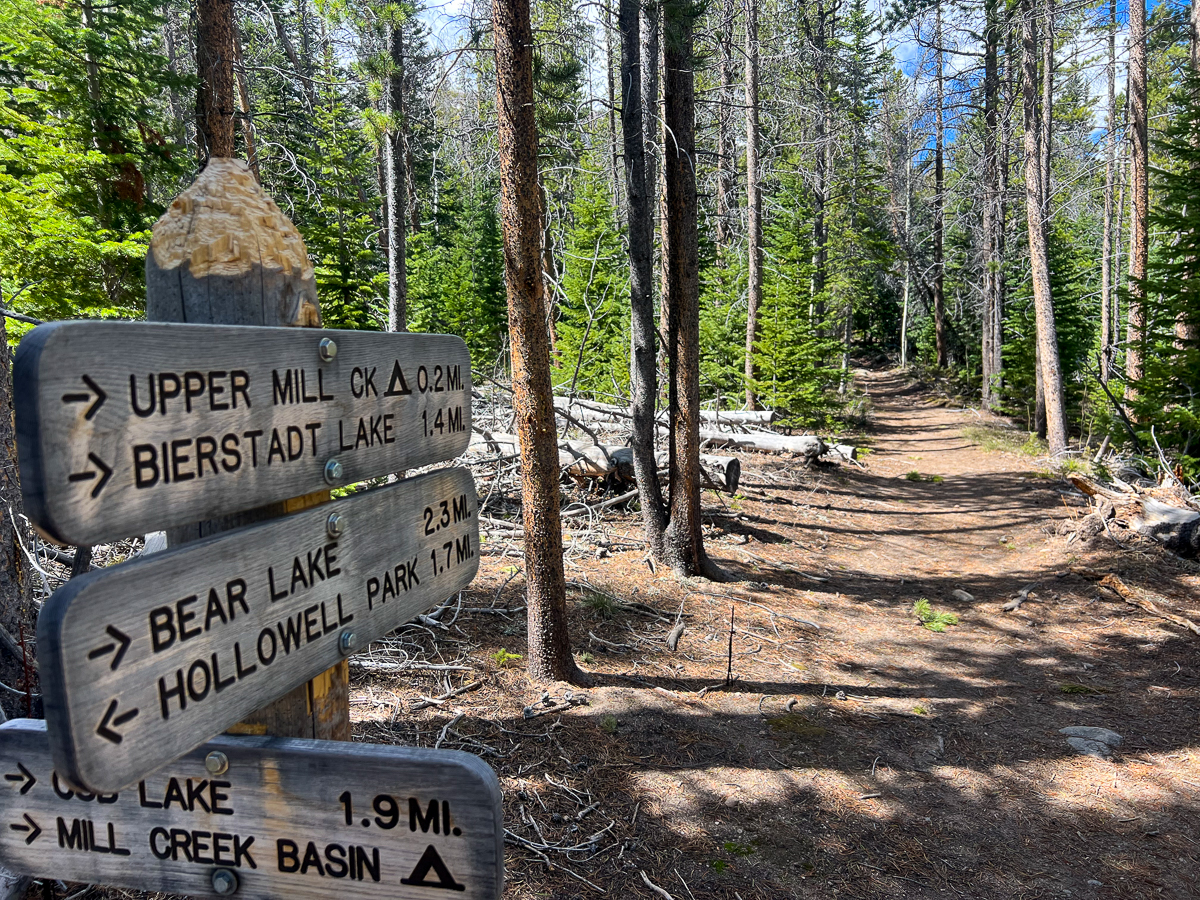
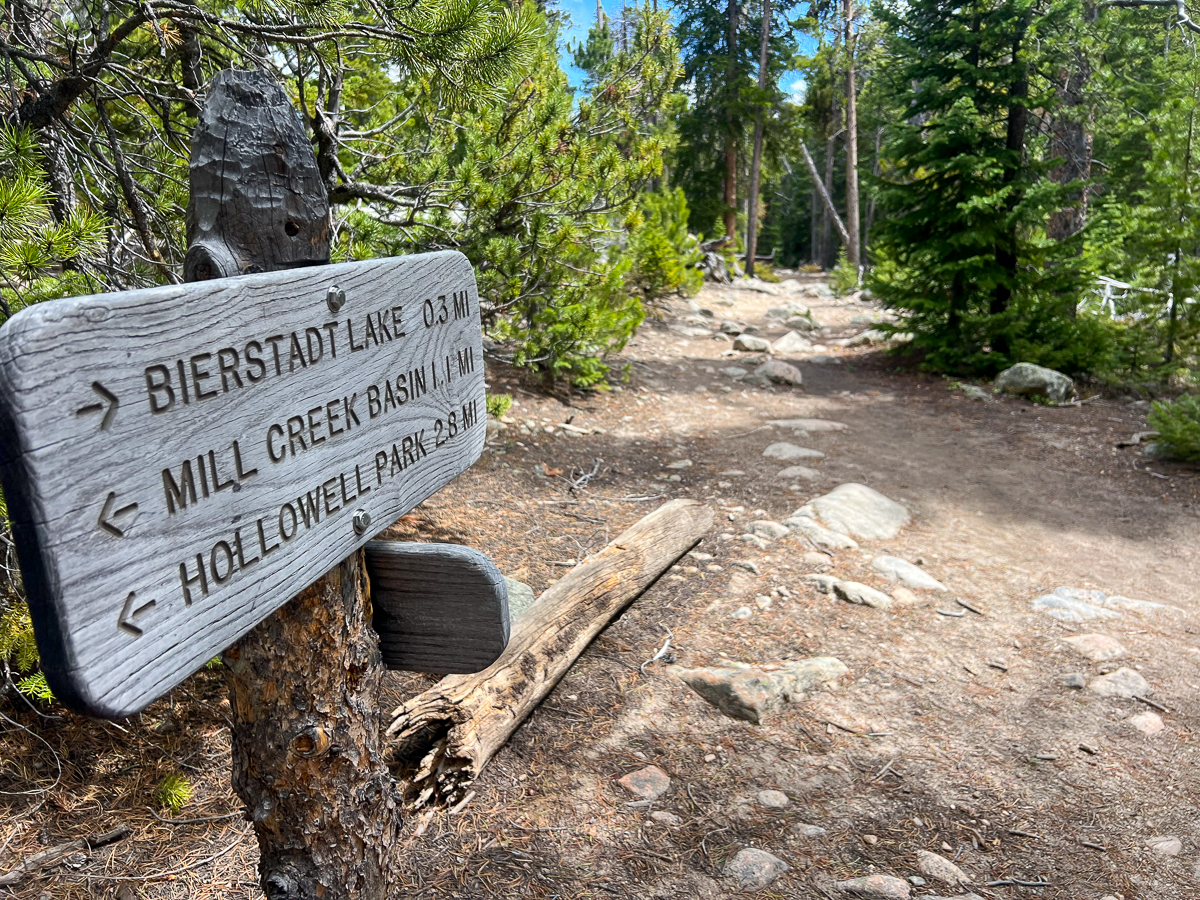
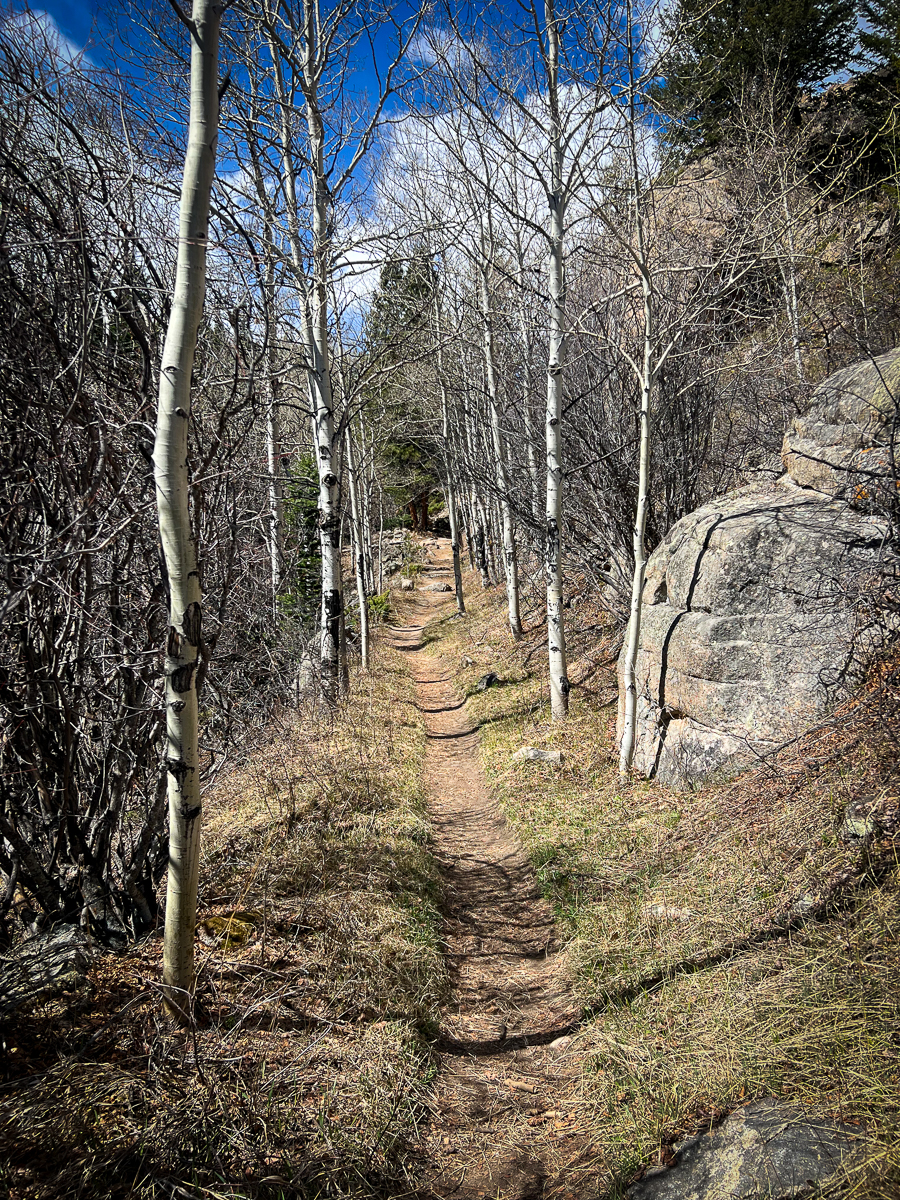
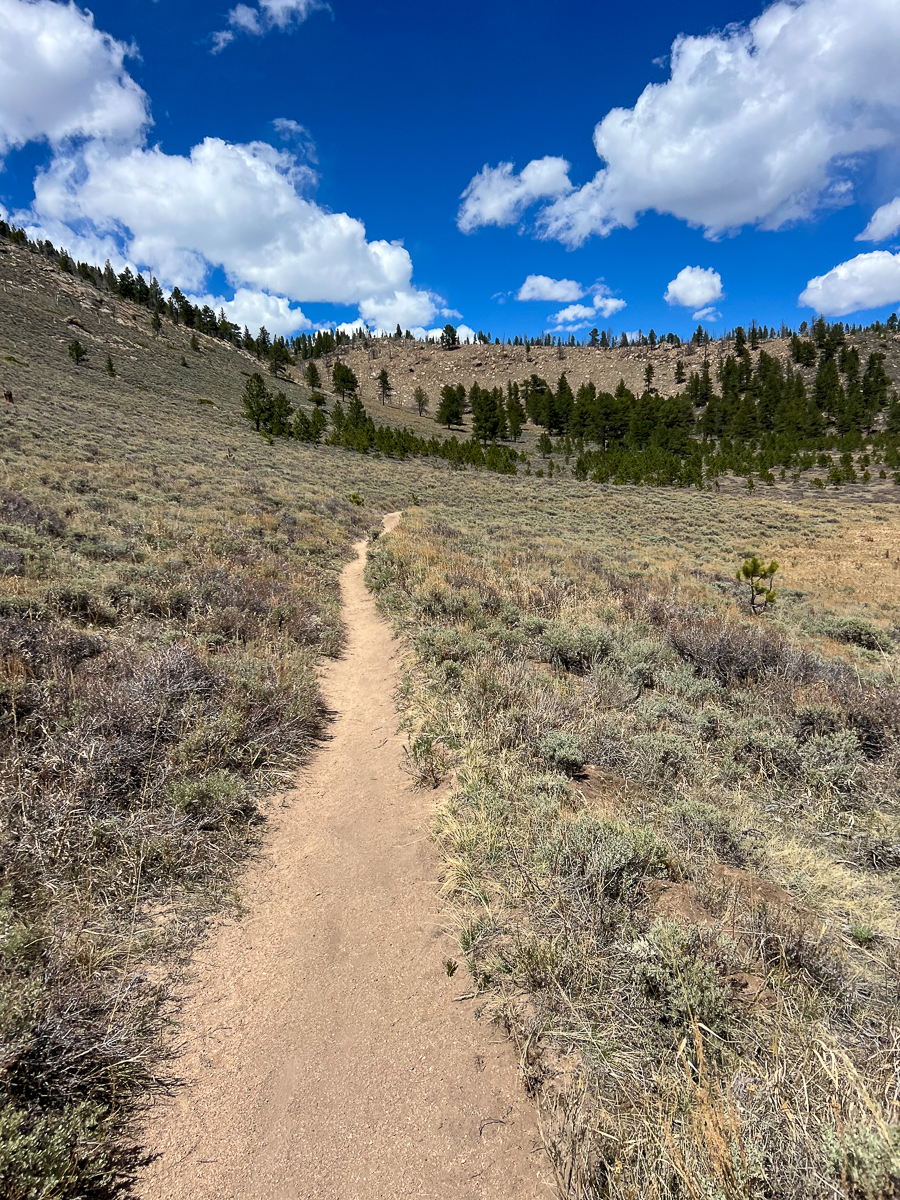
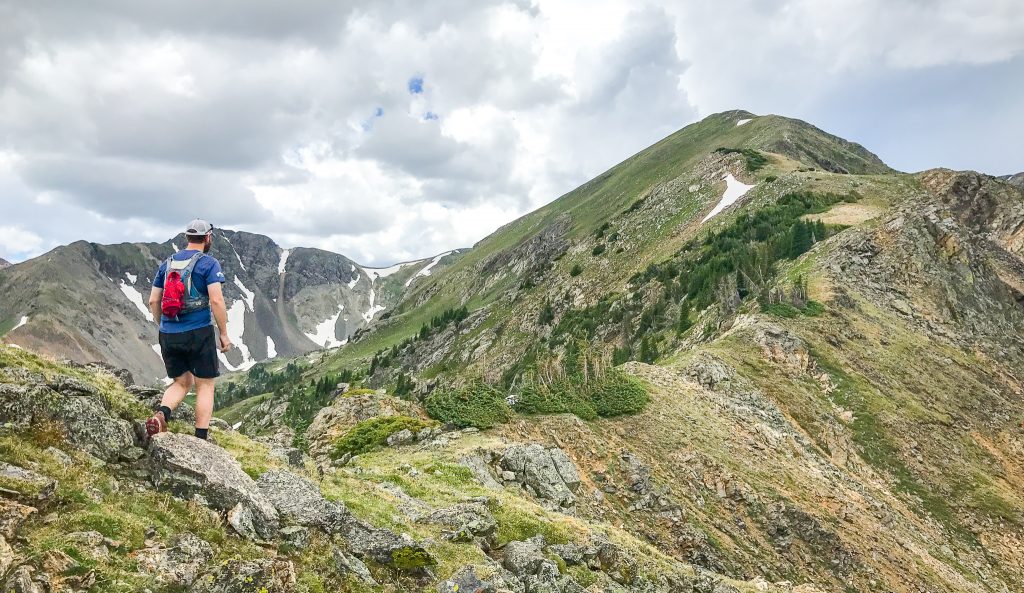
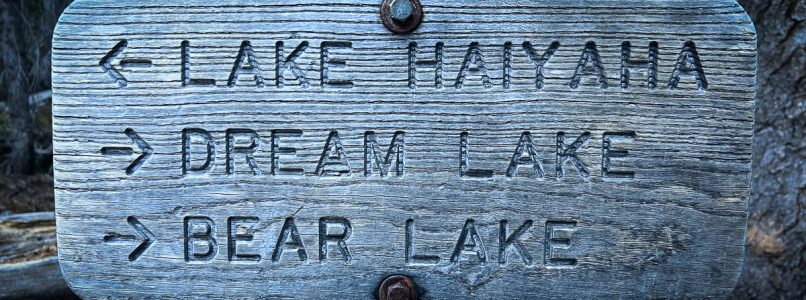
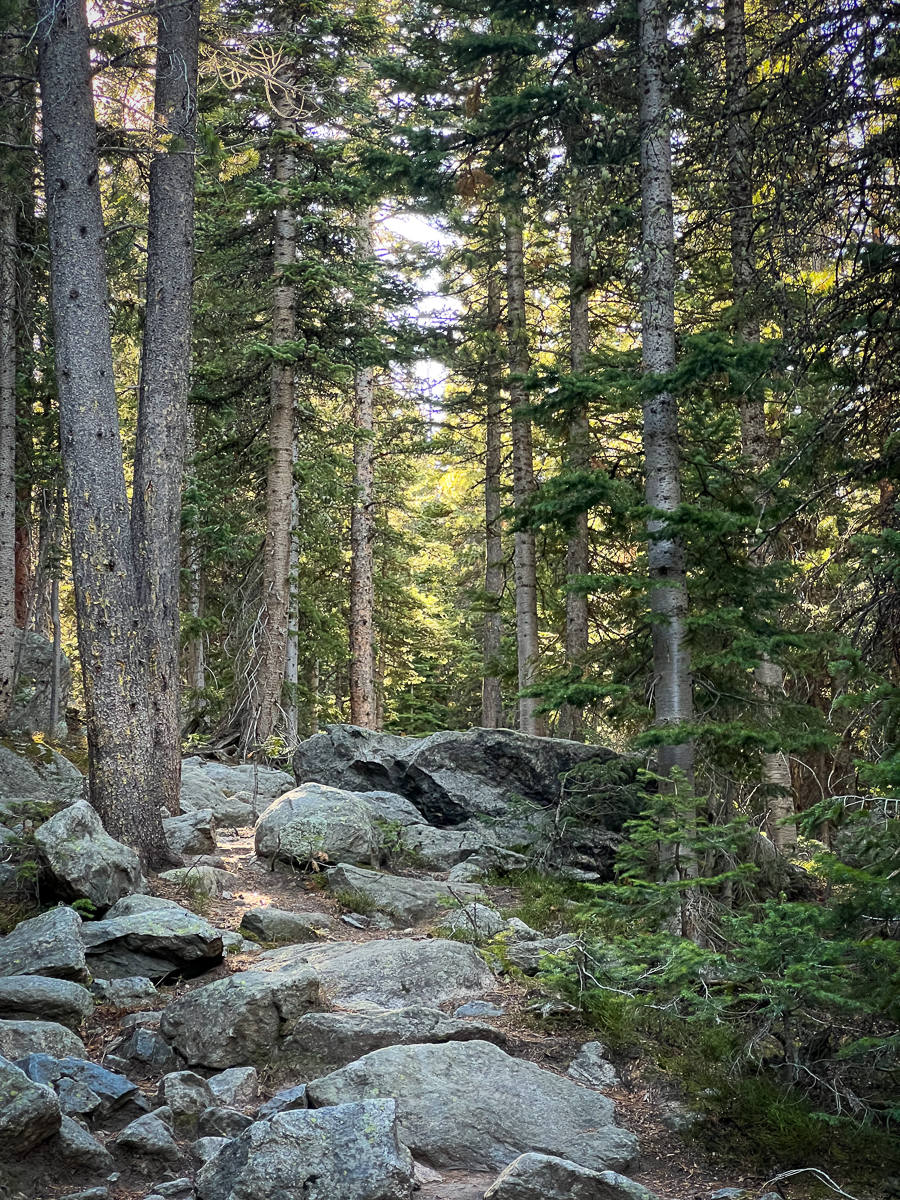
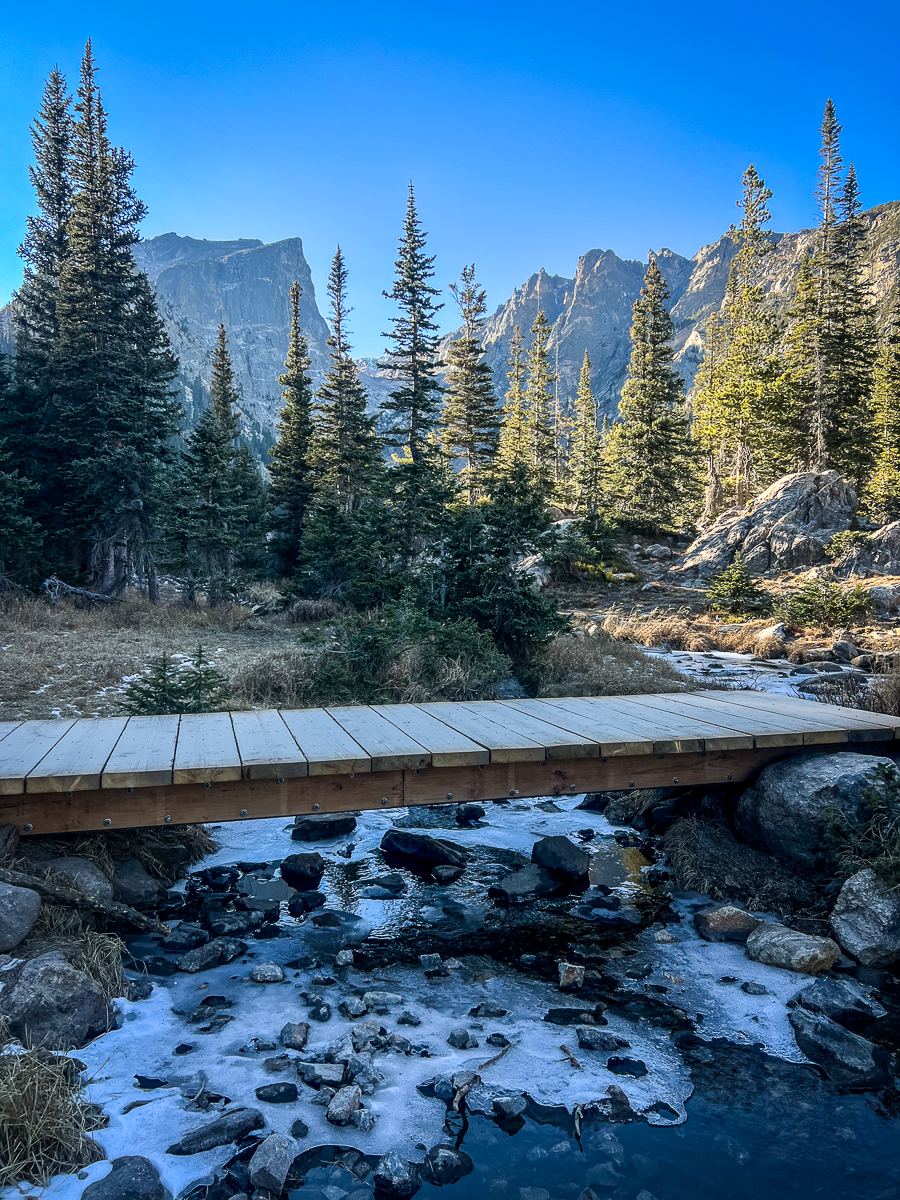
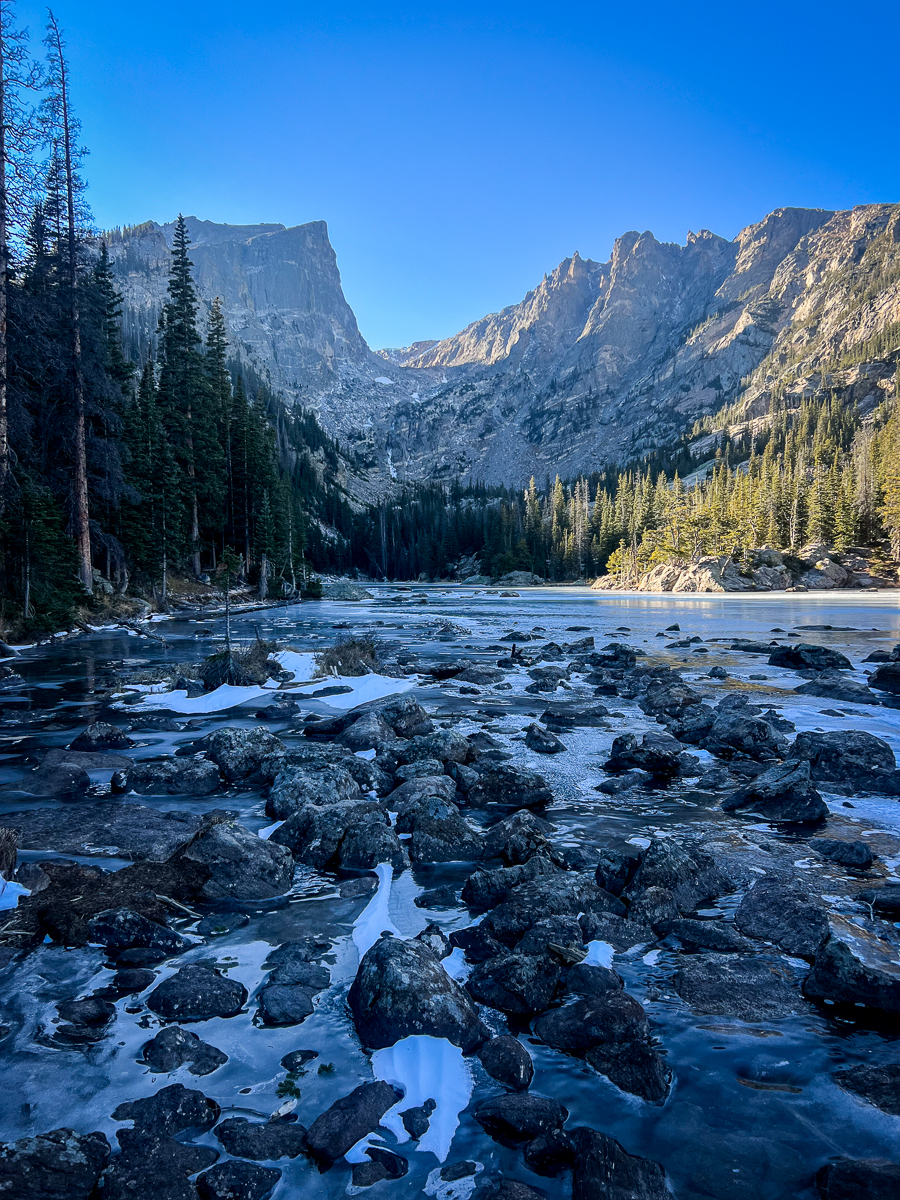
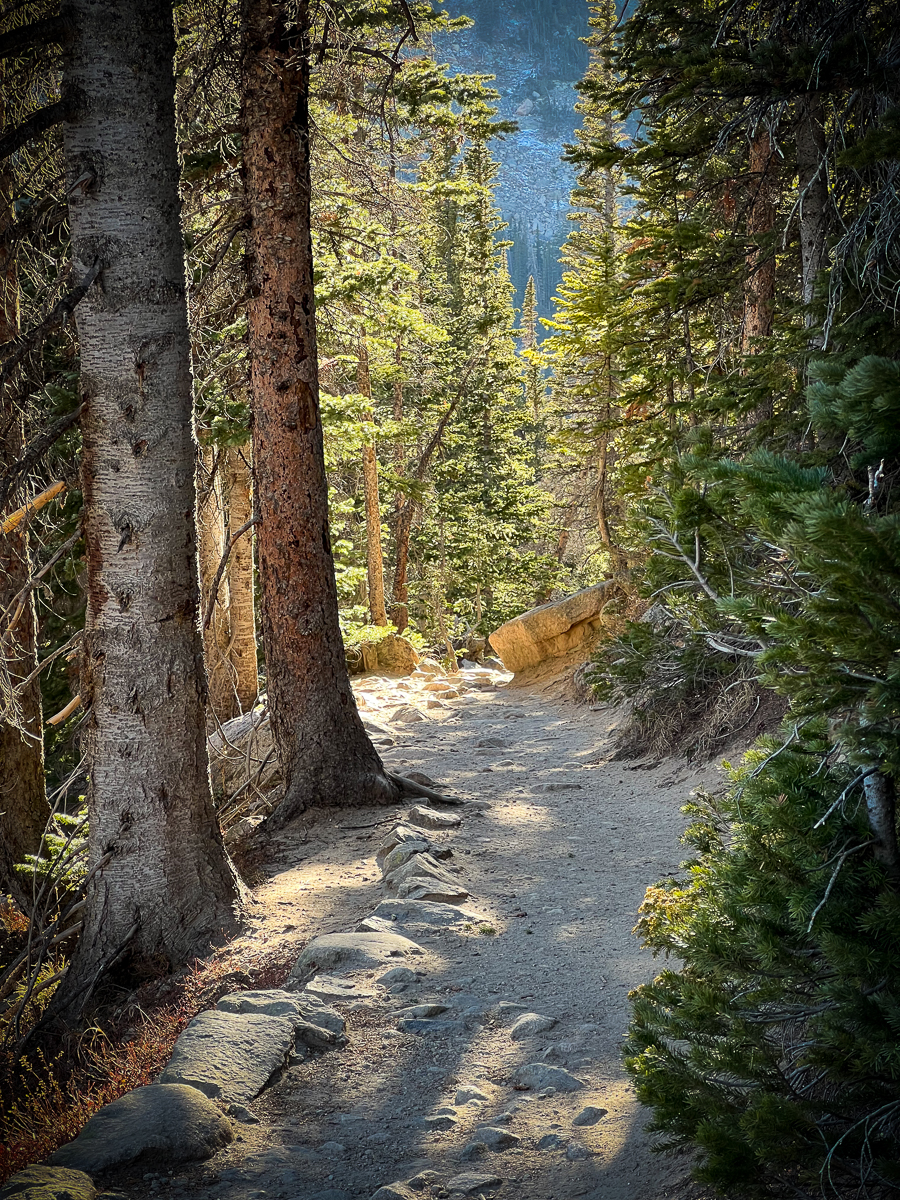
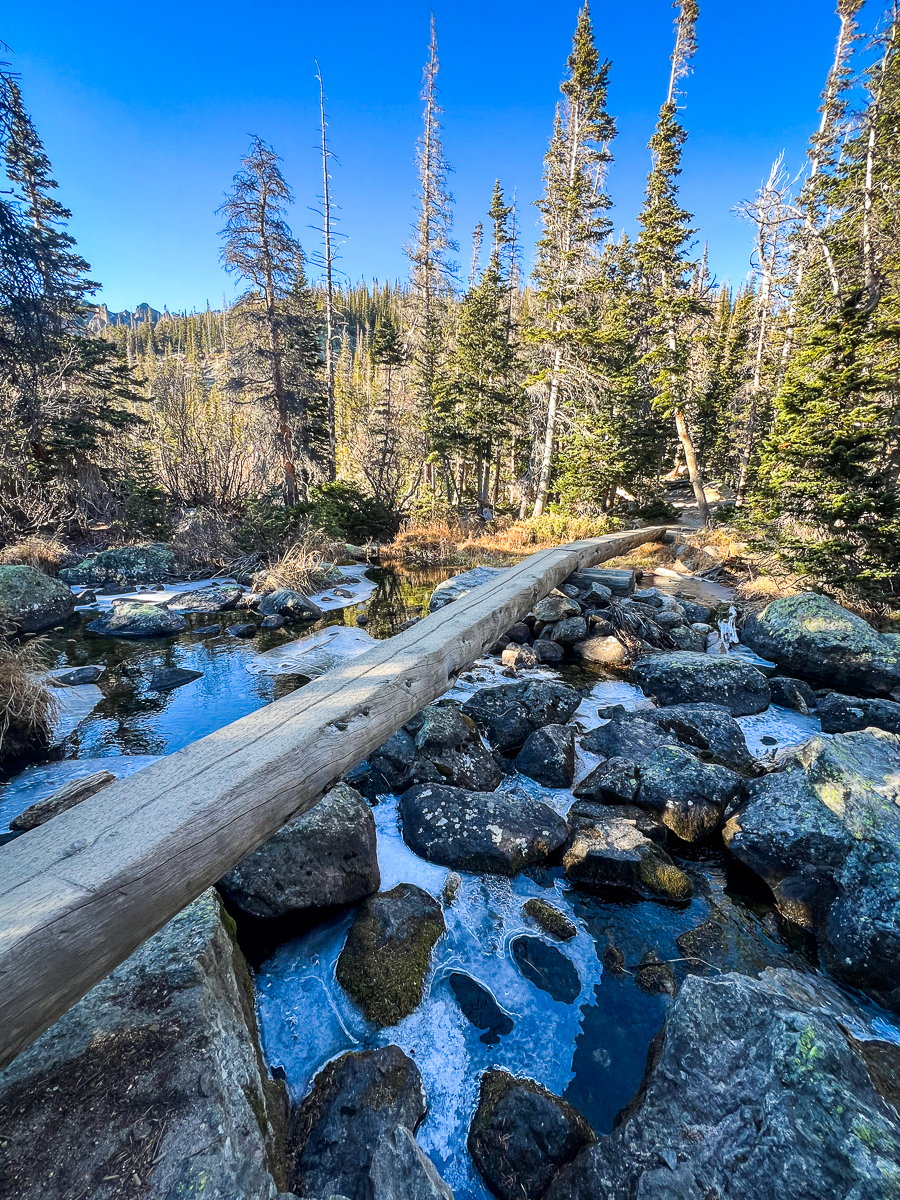
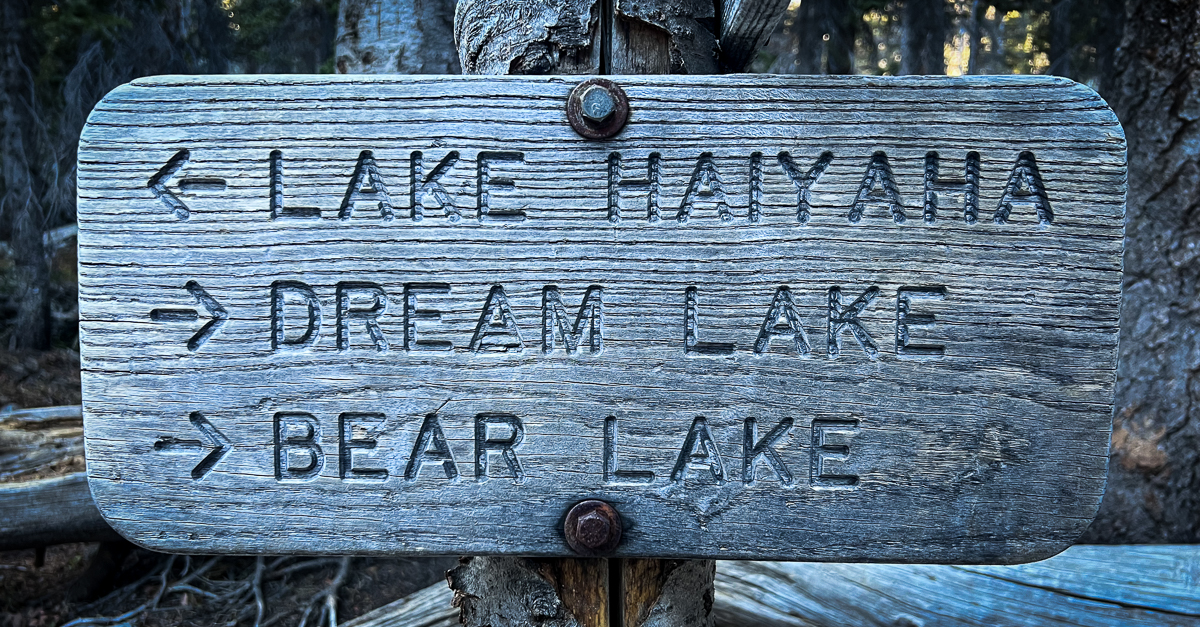
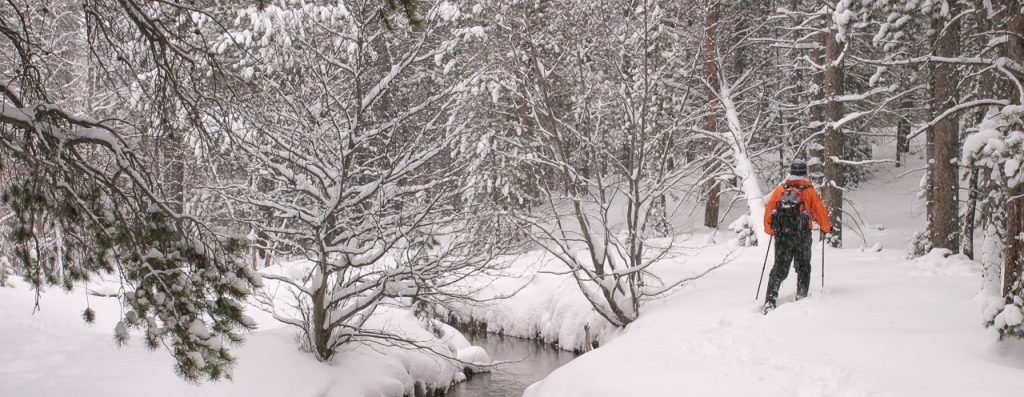
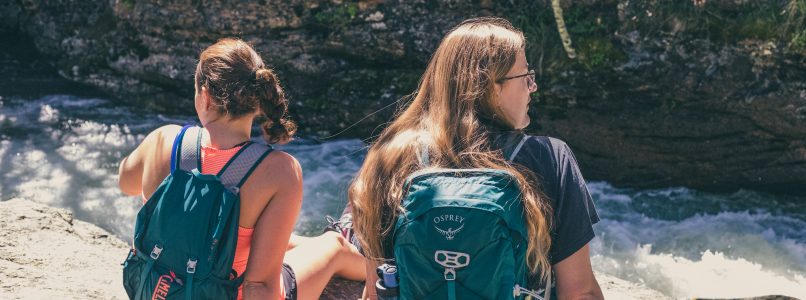
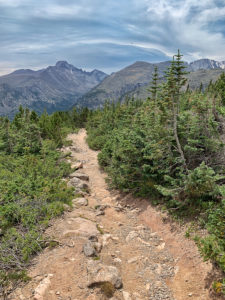
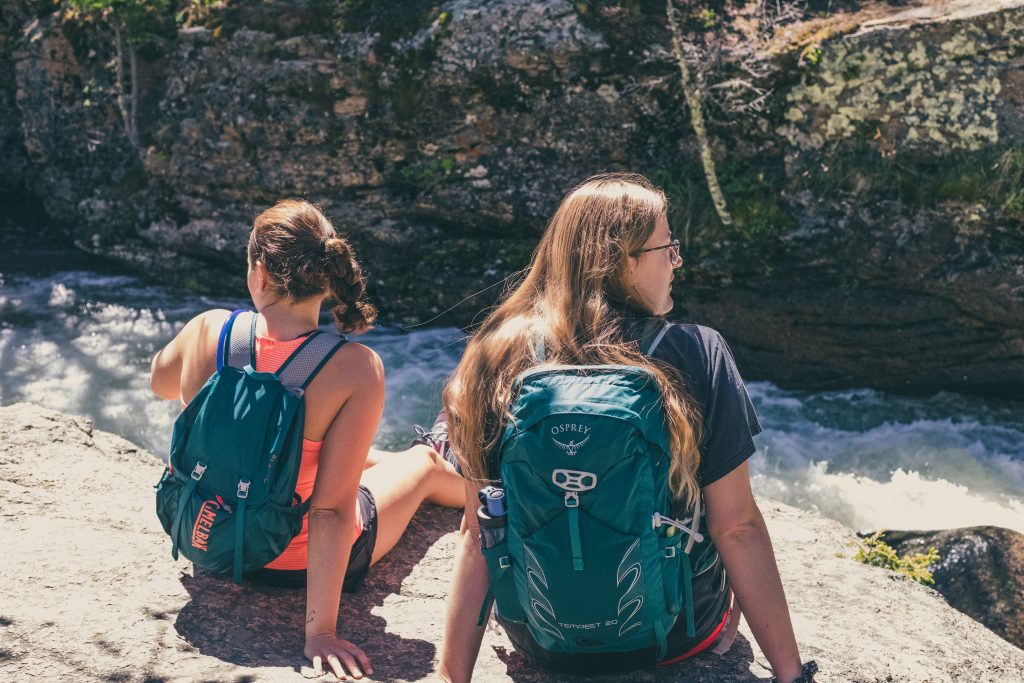
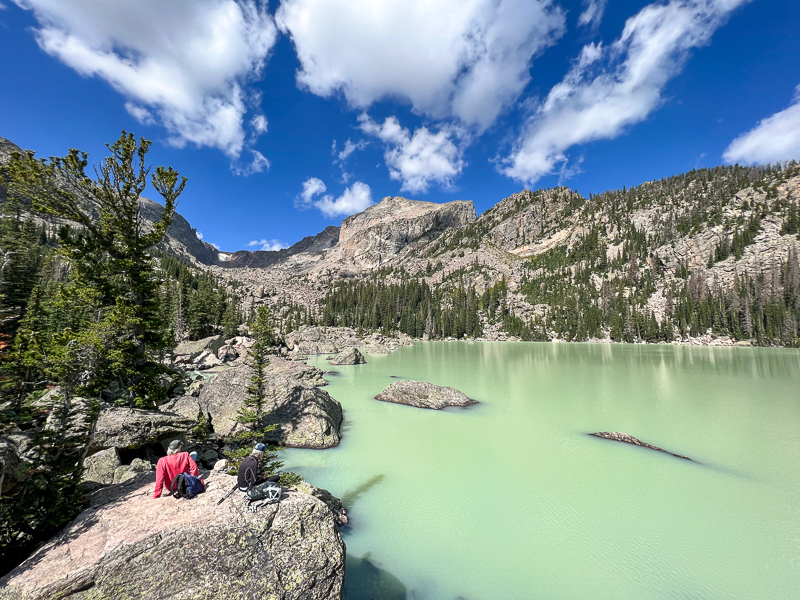
4. Go Hiking for Every Skill Level
From easy lakeside strolls to challenging alpine climbs, hiking is one of the top Estes Park activities.
Popular hikes:
- Bear Lake (easy)
- Lake Haiyaha (moderate)
- Sky Pond (challenging)
Staying nearby means you can hit the trails early—before the crowds arrive.
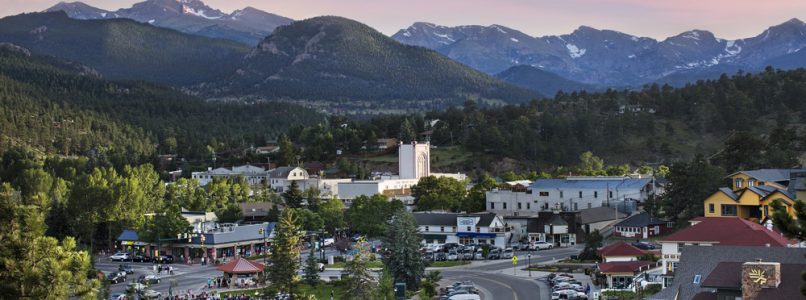
5. Stroll Through Downtown Estes Park
Downtown Estes Park is full of charm, shops, and local flavor.
Enjoy:
- Boutique shopping
- Ice cream and coffee shops
- Riverwalk views
- Local art galleries
It’s a great way to spend an afternoon after a morning hike.
6. Visit Lake Estes
Lake Estes offers a relaxing break from hiking and driving.
Activities include:
- Walking or biking the lake loop
- Kayaking or paddleboarding
- Fishing
- Picnicking
Perfect for families or a slower-paced day.
7. Experience the Estes Park Aerial Tramway
For panoramic views without the hike, take the aerial tramway up Prospect Mountain.
At the top, you’ll find:
- 360-degree views
- Short walking trails
- Opportunities to spot wildlife
8. Enjoy Local Dining
Estes Park has a growing food scene with something for everyone.
You’ll find:
- Casual cafés
- Family-friendly restaurants
- Upscale dining options
Many guests enjoy bringing takeout back to their cabin and eating with a mountain view.
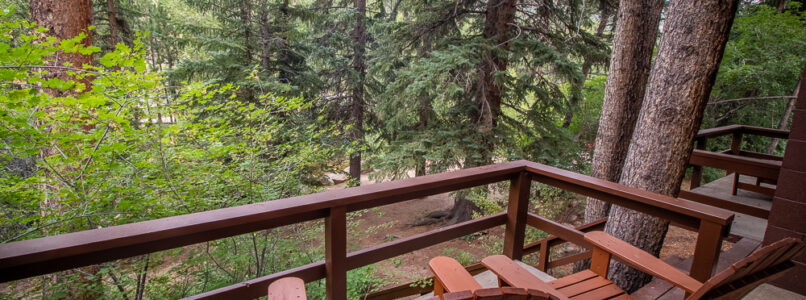
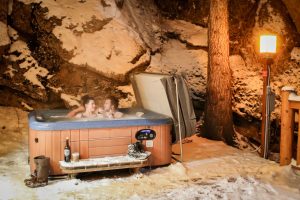
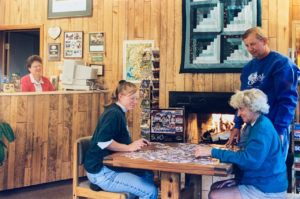
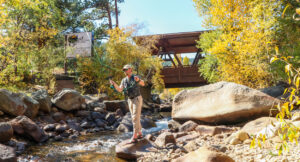
9. Relax and Unplug in Nature
Sometimes the best thing to do in Estes Park is… nothing at all.
At Castle Mountain Lodge, you can:
- Sit by the river
- Enjoy a quiet morning coffee
- Watch wildlife from your porch
- Relax by the fire
This is where the trip becomes truly memorable.
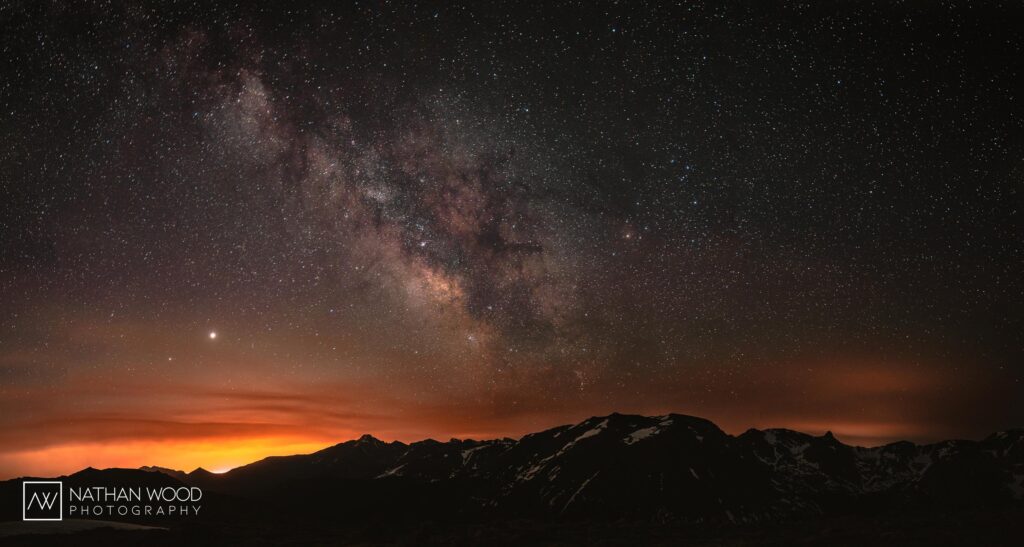
10. Catch a Sunrise or Sunset in the Mountains
Few experiences compare to watching the sun rise or set over the Rocky Mountains.
Best spots include:
- Trail Ridge Road overlooks
- Moraine Park
- Near your cabin at Castle Mountain Lodge
Bring a camera—you’ll want to remember it.
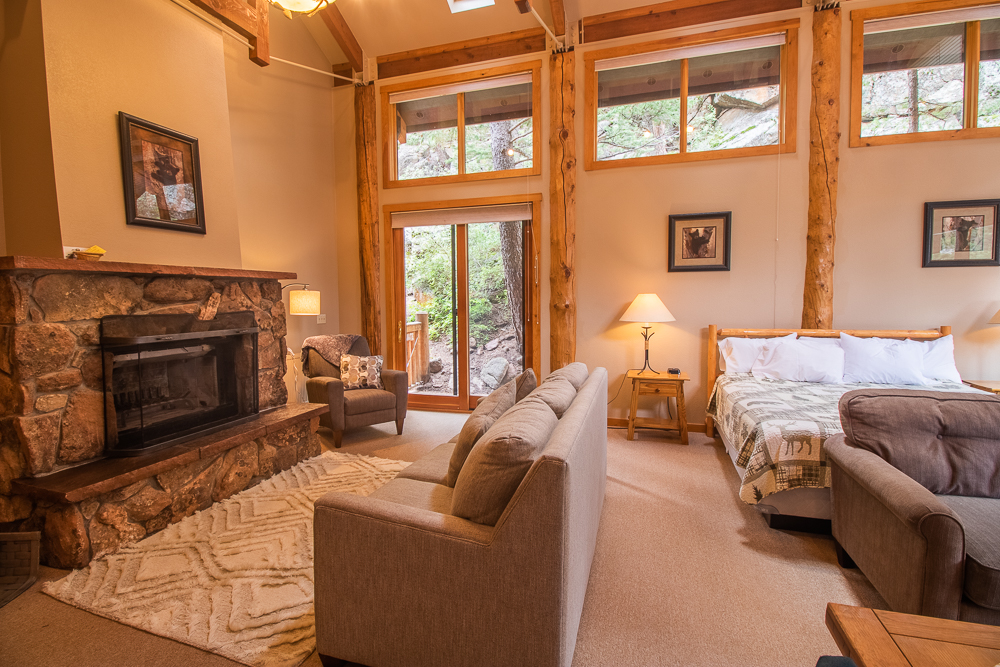
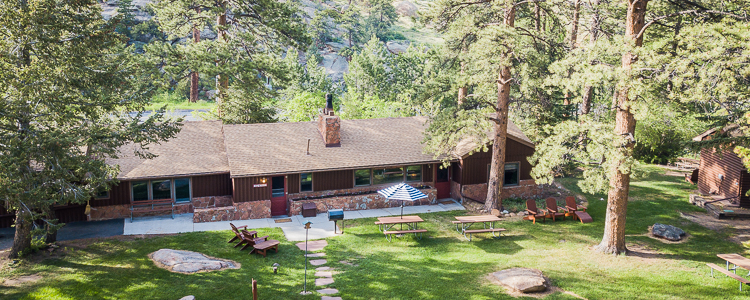
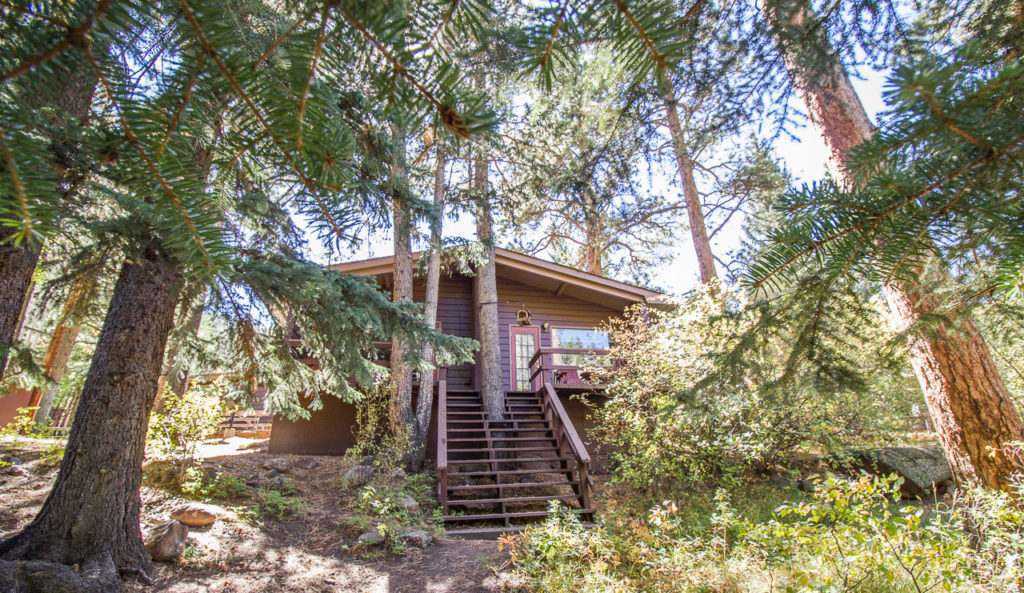
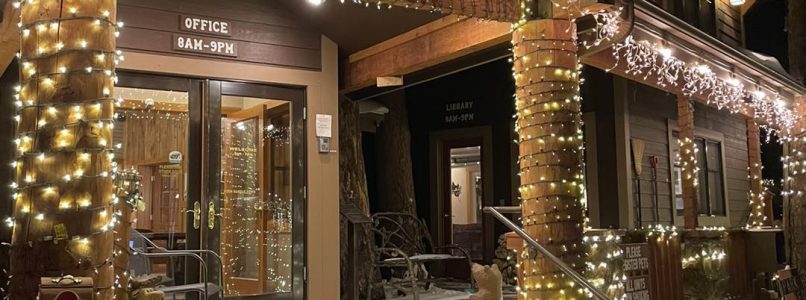
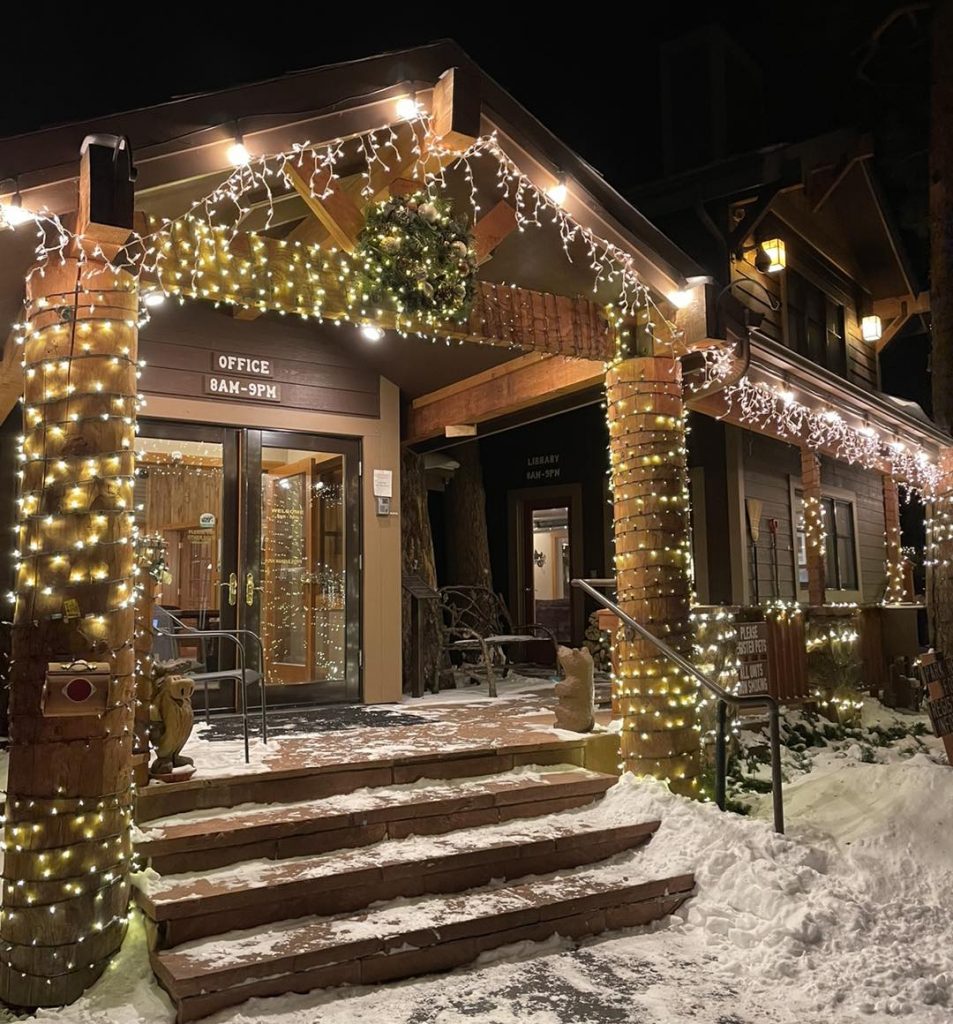
Why Staying Close to the Action Matters
Choosing the right place to stay makes a huge difference in your trip.
When you stay at Castle Mountain Lodge, you’re:
- Minutes from Rocky Mountain National Park
- Close to top attractions
- Surrounded by peaceful nature
- Away from the busiest crowds
View cabins and availability:
https://castlemountainlodge.com/
Final Thoughts
There’s no shortage of incredible things to do in Estes Park. From hiking and wildlife to scenic drives and quiet moments by the river, every day offers something new.
With a little planning—and the right place to stay—you can experience the very best of the Rocky Mountains.
Ready to Experience Estes Park?
Stay just minutes from everything and enjoy the perfect mountain getaway.
Book your stay at Castle Mountain Lodge:
https://castlemountainlodge.com/